Step 1: Prepare a server
To run vScope in your IT environment you need to set up a server in your data center which can host vScope.
- Server with internet connection
- Windows OS (also available on Linux* and Docker)
- 12 GB RAM, 2 CPU Cores
- 60 GB HDD
*Linux only supports inventory of Windows systems through WinRM (not WMI).
IMPORTANT – Installing vScope on a server with other running services
If you decide to install vScope on a server with other running application services, make sure that these firewall ports are not in use on the server.
Step 2: Installing vScope
- Download the vScope installation client and run it on the server.
- Run the express installation or uncheck the box for the advance setup of vScope
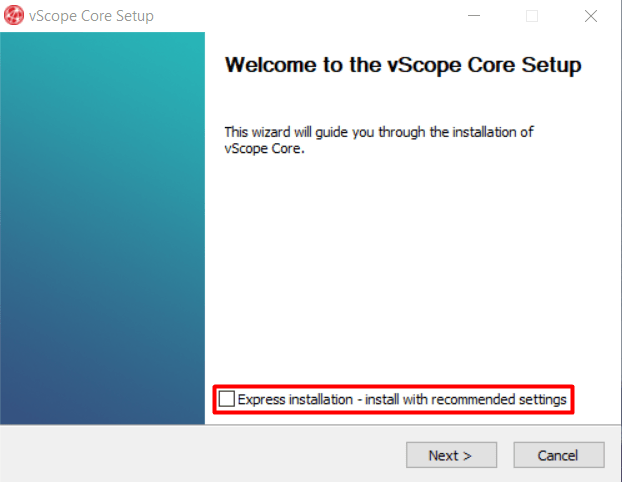
Running the advanced installation allows you to change:
– Destination Folders
– Data Directory for the database
– Web/API Port for the service (default 80)
– Dedicated RAM (default: 50% of server total RAM) - Click “Finish the setup”.
Step 3 – Accessing vScope for the first time
Access vScope either by:
- Access vScope from your browser by navigating to http://yourservername:80 (or whatever port you’ve chosen)
- You can also access vScope directly from the server localhost:80
vScope License
Choose the option that suits you best.
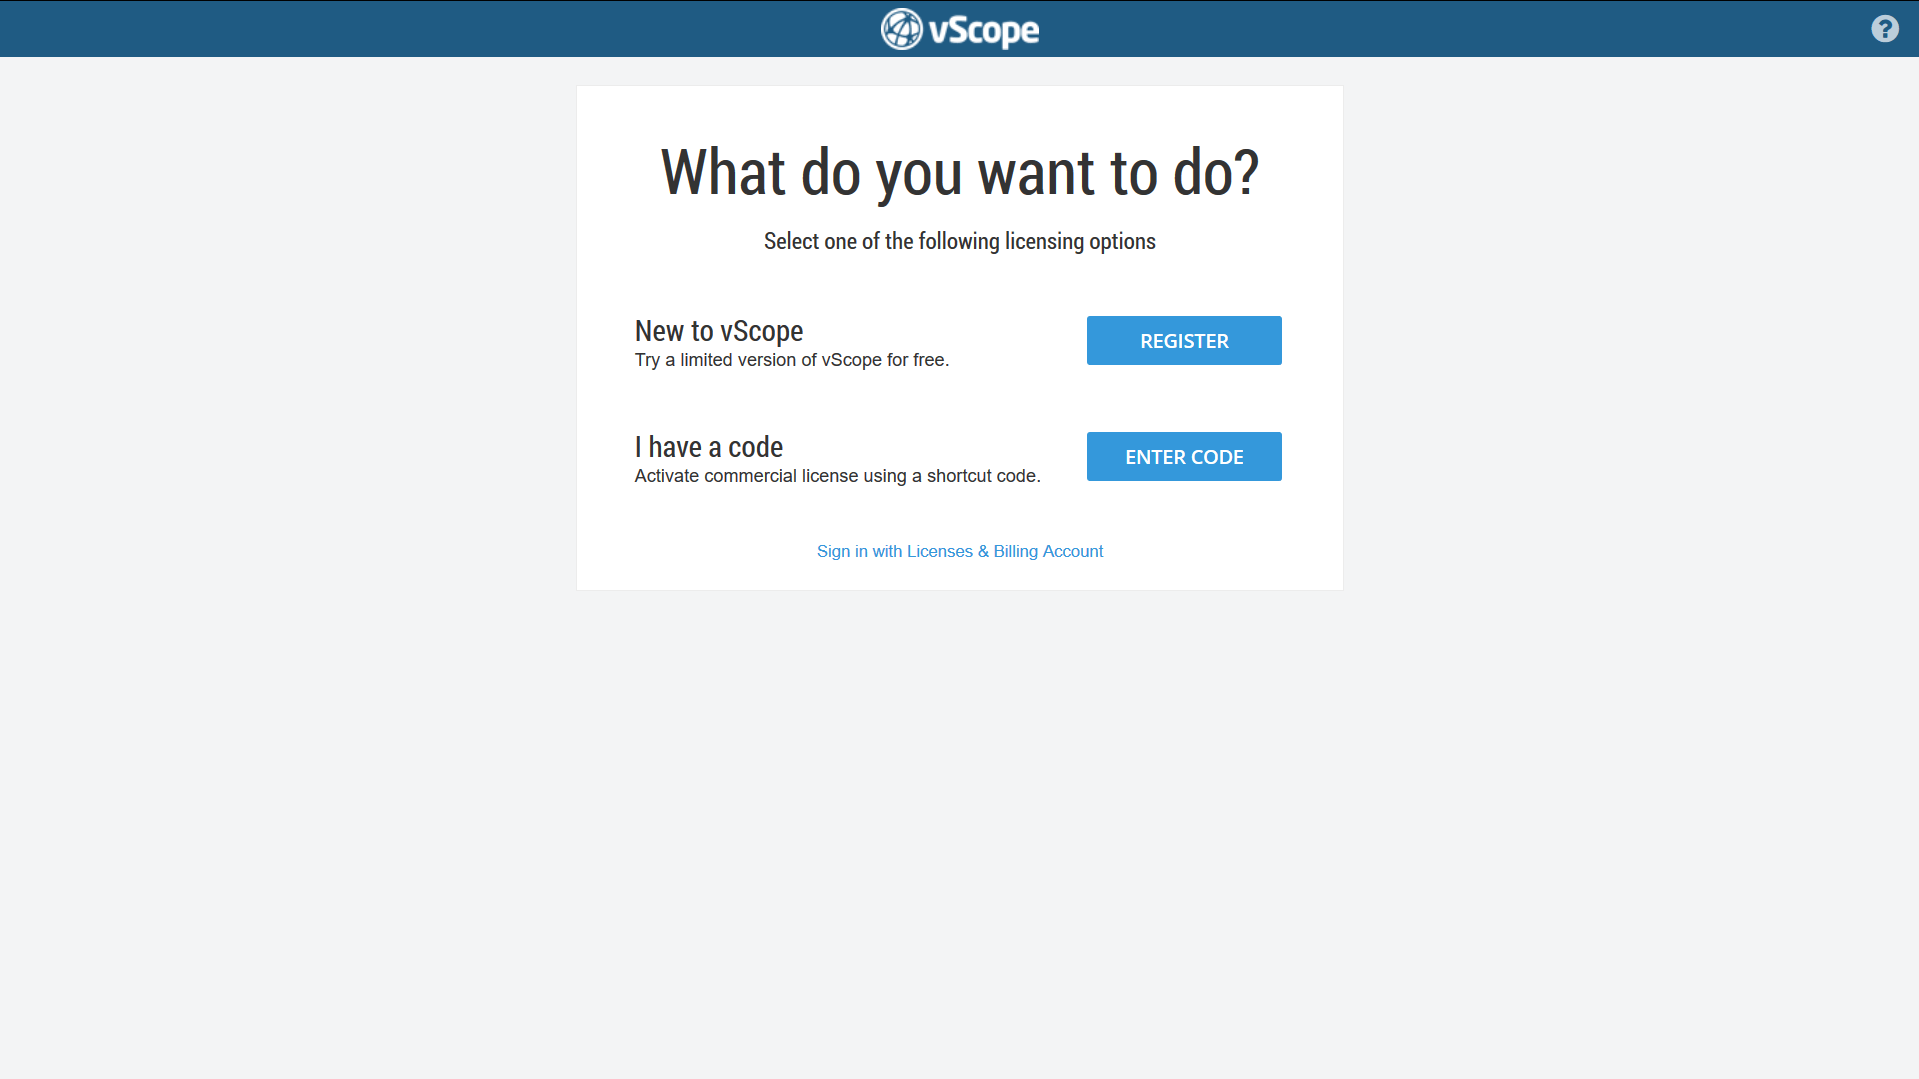
If you have an account on the account pages, you already have a code available to you.
Creating your first vScope user
Now it’s time for you to create your first vScope user. See this as your restoration account.
Most organizations configure vScope with Azure SSO or integrate with Active Directory for easier access for the end-user. However, the user you create here is a local administrator account that always can access vScope using email and password. It’s important to remember these credentials if any other authentication methods fail.
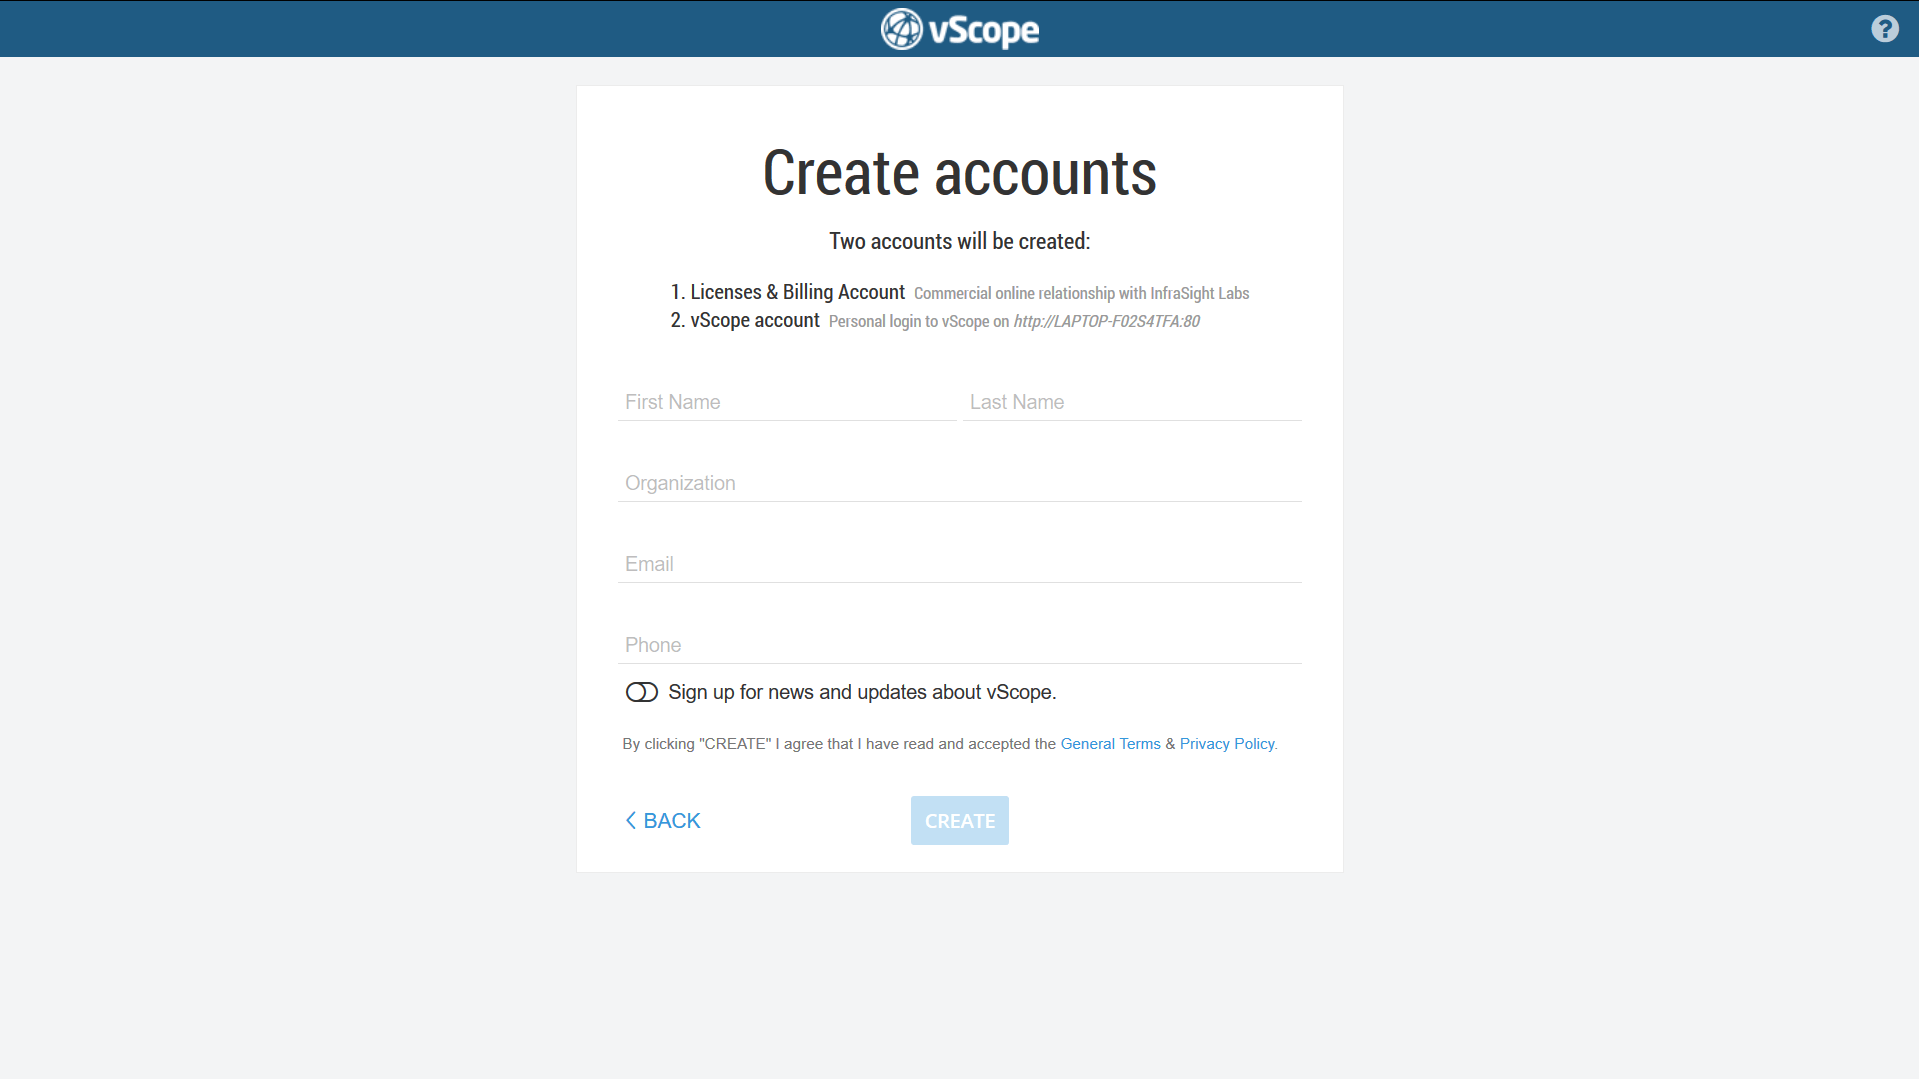
We recommend you to sign up for our newsletter which will keep you posted on product highlights, and information on how to make the most out of vScope.
Step 4: Setting up the Discovery Manager
With the help of the Discovery Wizard, you’ll be guided through the procedure of adding information to the vScope platform by entering credentials and targets to your resources. Please ensure that the credentials have sufficient permissions to read the information you want to collect and that the vScope server has access to the data sources.
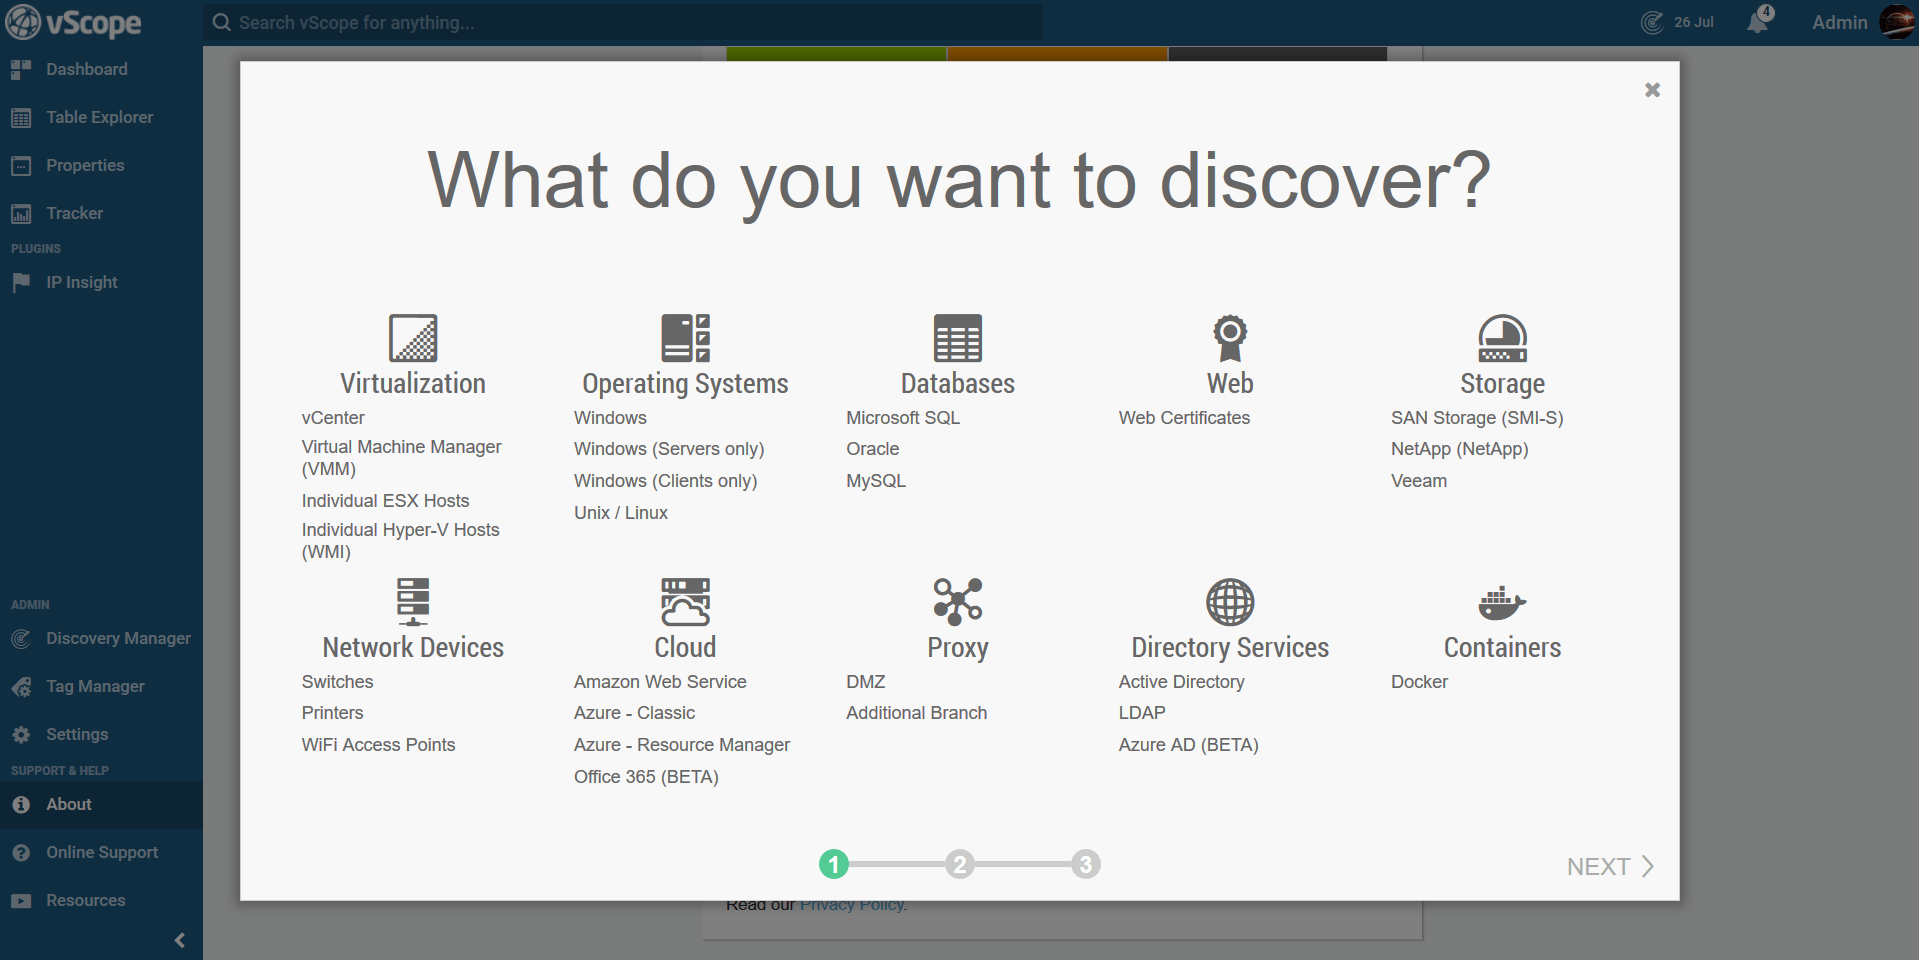
Done: Start collecting assets!
Now that everything is set up and prepared for takeoff, let’s start the first discovery by hitting the “Start Discovery” button. 