Integrating Endpoint Central with vScope allows you to view the machines and mobile devices you have in Endpoint Central.
Notice: You can connect to both Endpoint Central and Endpoint Central MSP Edition. In vScope, you connect using the same credential.
Creating a user for vScope in Endpoint Central
- Log in to your Endpoint Central installation with an admin account.
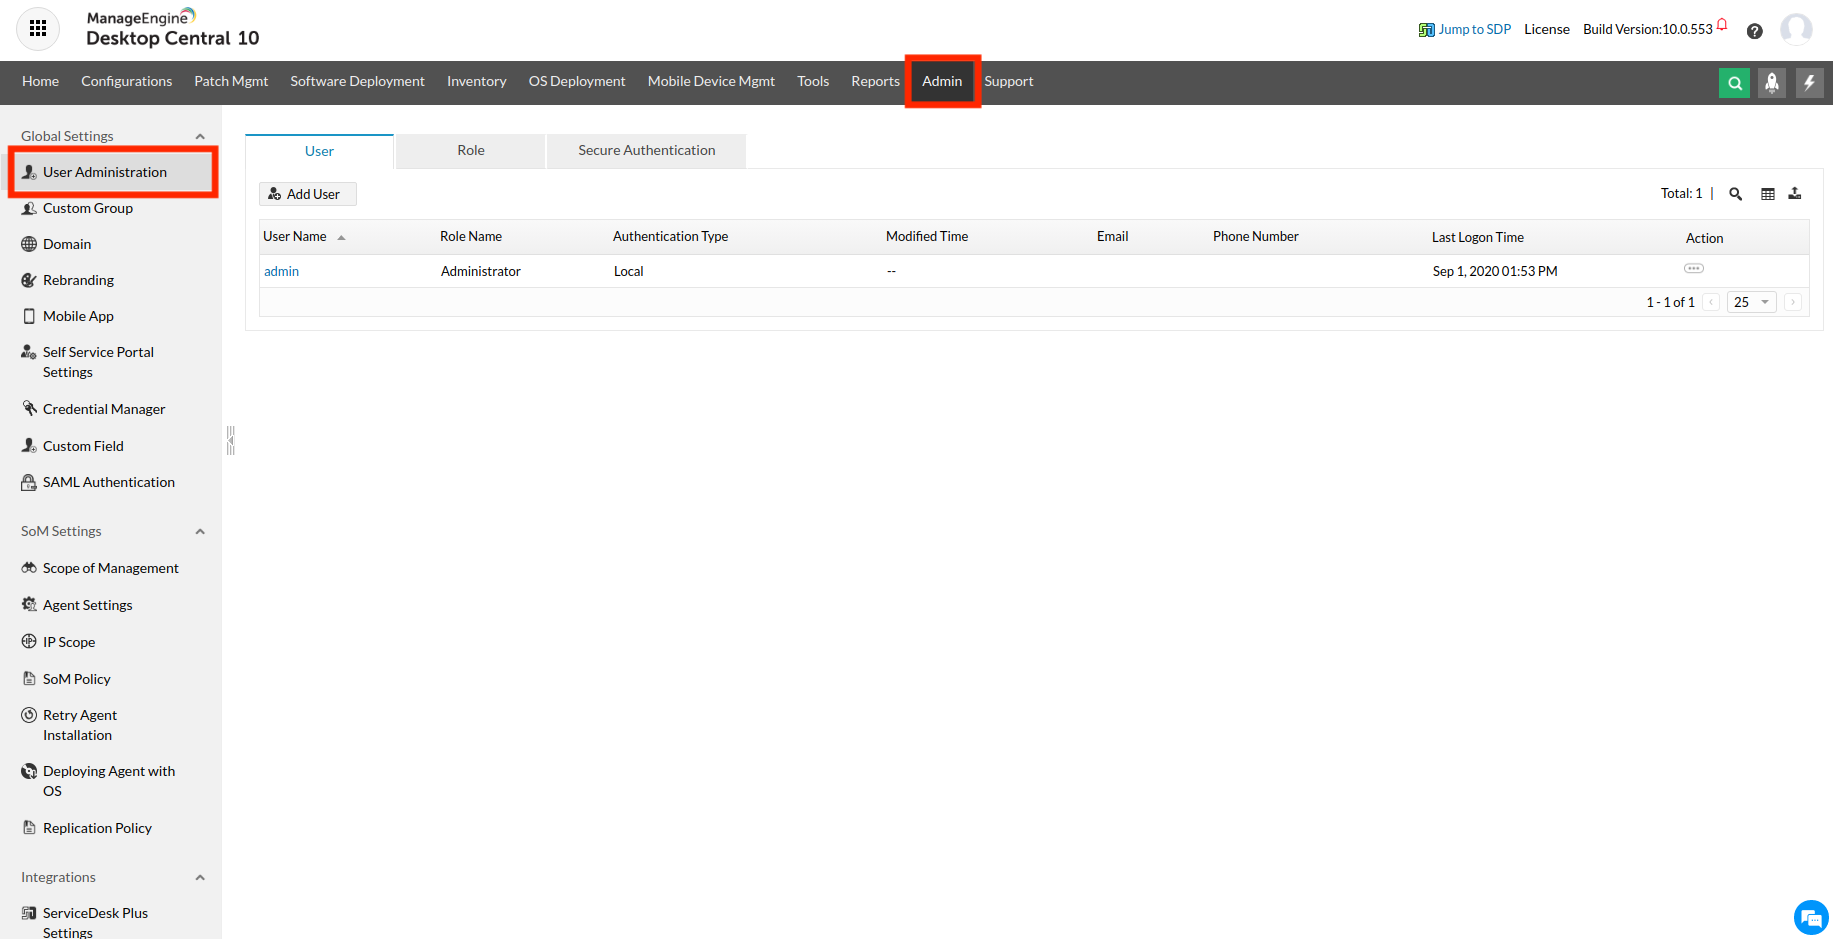
- Click on the “Admin” tab in the top panel and then click on “User Administration” to the right.
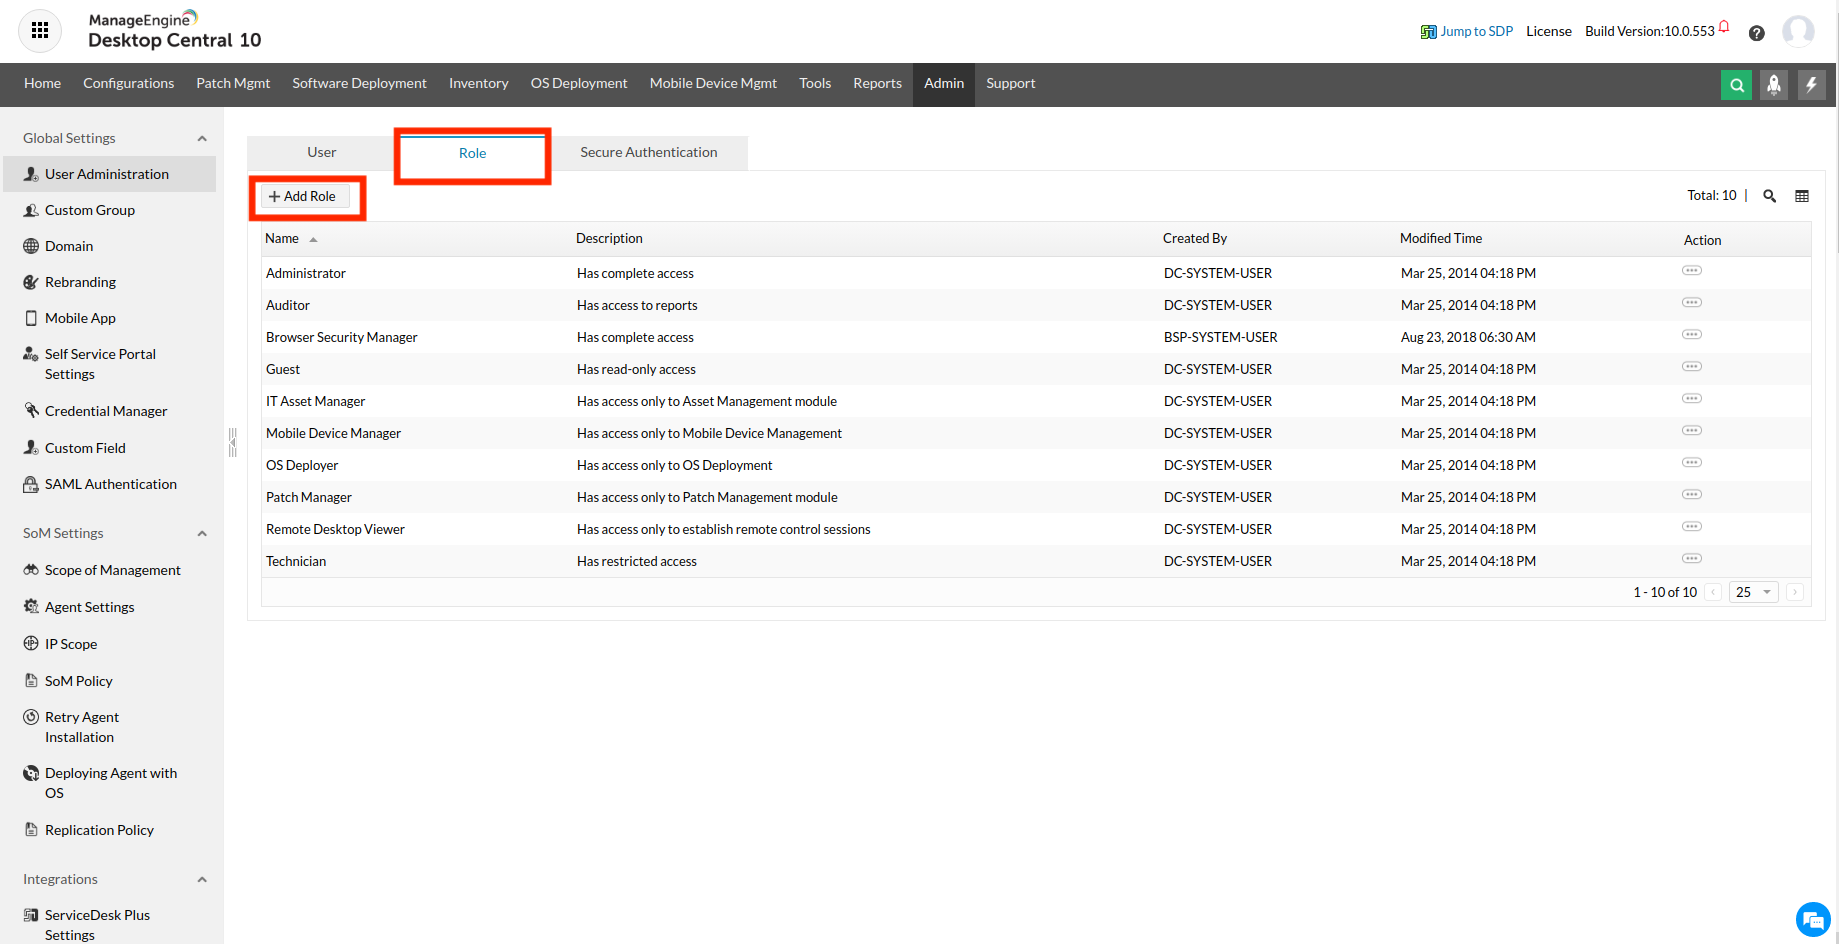
- Now proceed to the “Role” tab and click on “+Add Role”
- Give the role an appropriate name, such as vScope, and make sure that it has read access to everything. Make sure to save the role before continuing.
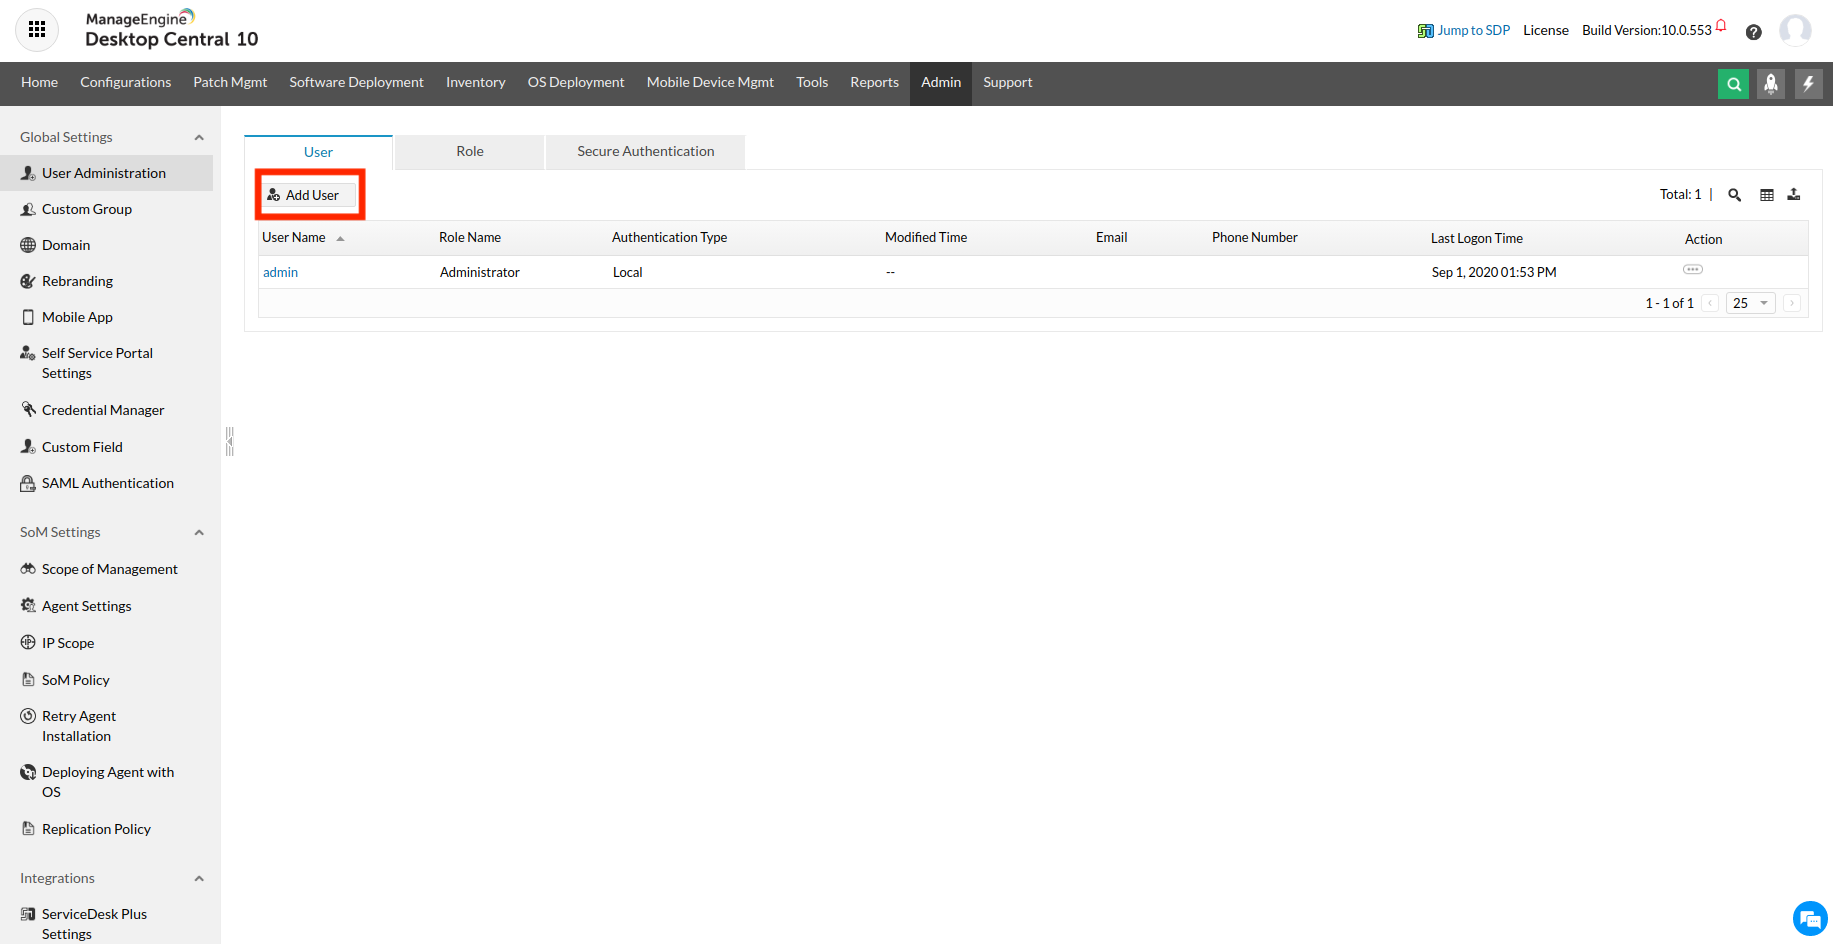
- Return to the “User” tab and click on “+Add User”
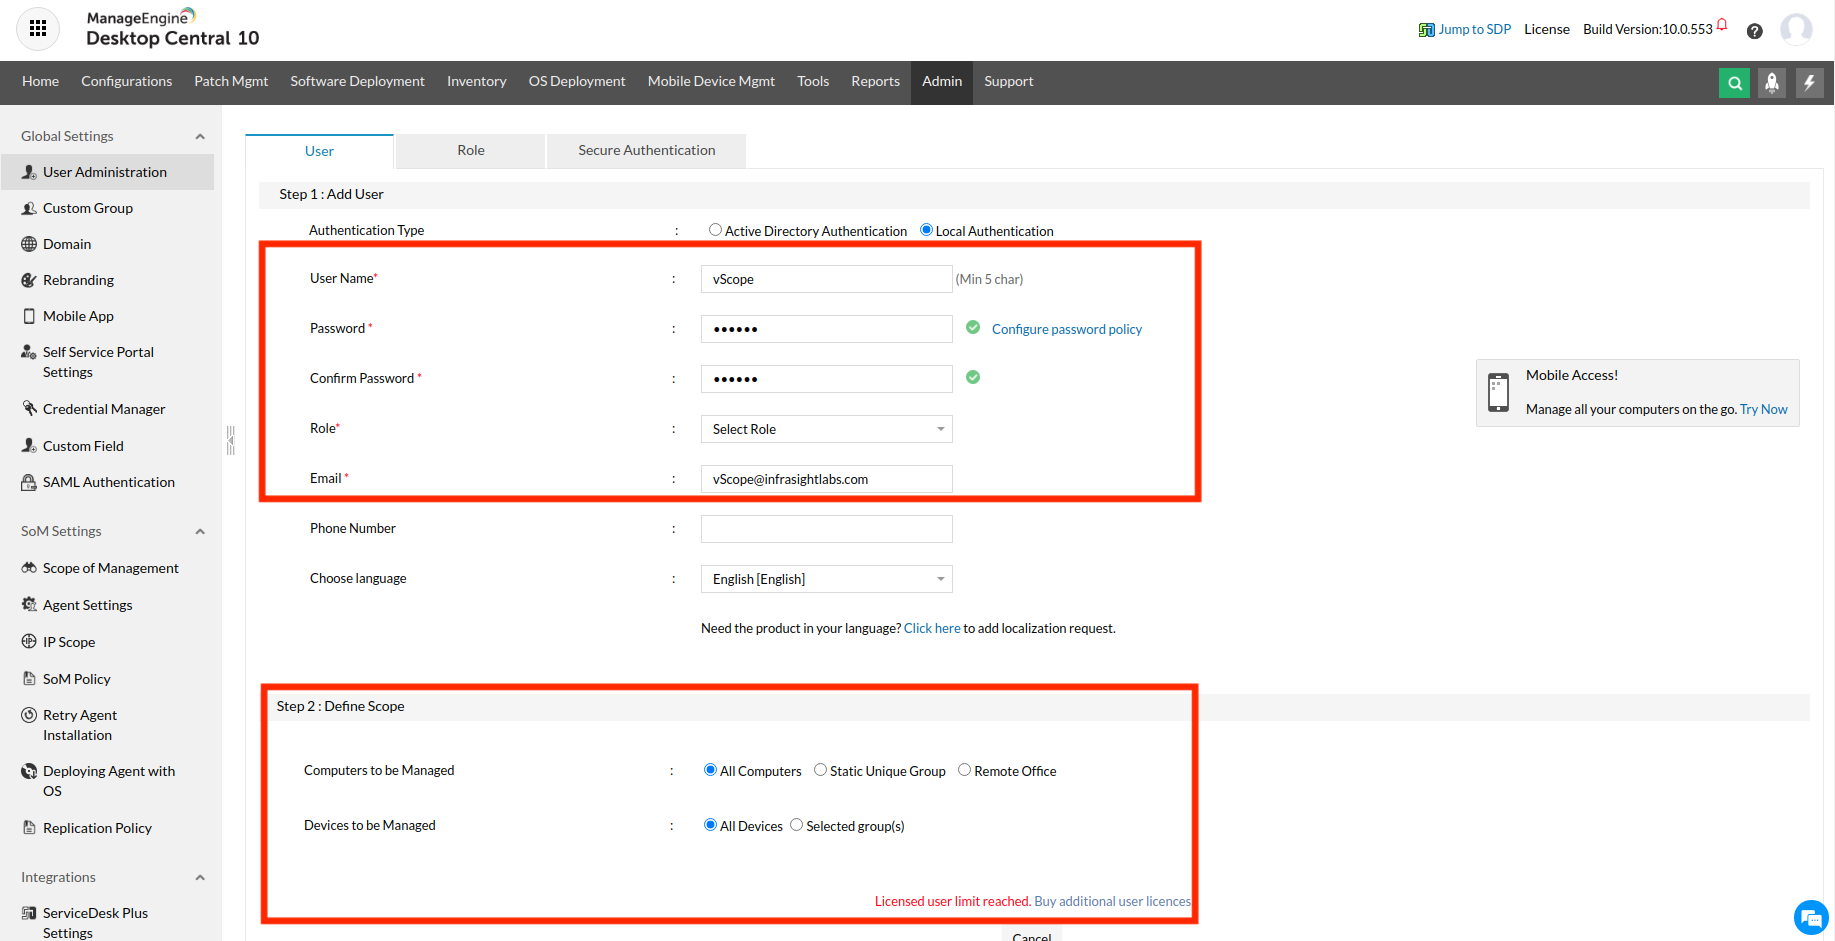
- Fill in all the required information for the user account.
- You are required to choose a “User name”, “Password”, “Email” and “Role”. Make sure that you choose the new role that we created earlier in the guide. Under “Step 2: Define Scope” make sure that you have chosen “All Computers” & “All Devices” as pictured below.
- You are required to choose a “User name”, “Password”, “Email” and “Role”. Make sure that you choose the new role that we created earlier in the guide. Under “Step 2: Define Scope” make sure that you have chosen “All Computers” & “All Devices” as pictured below.
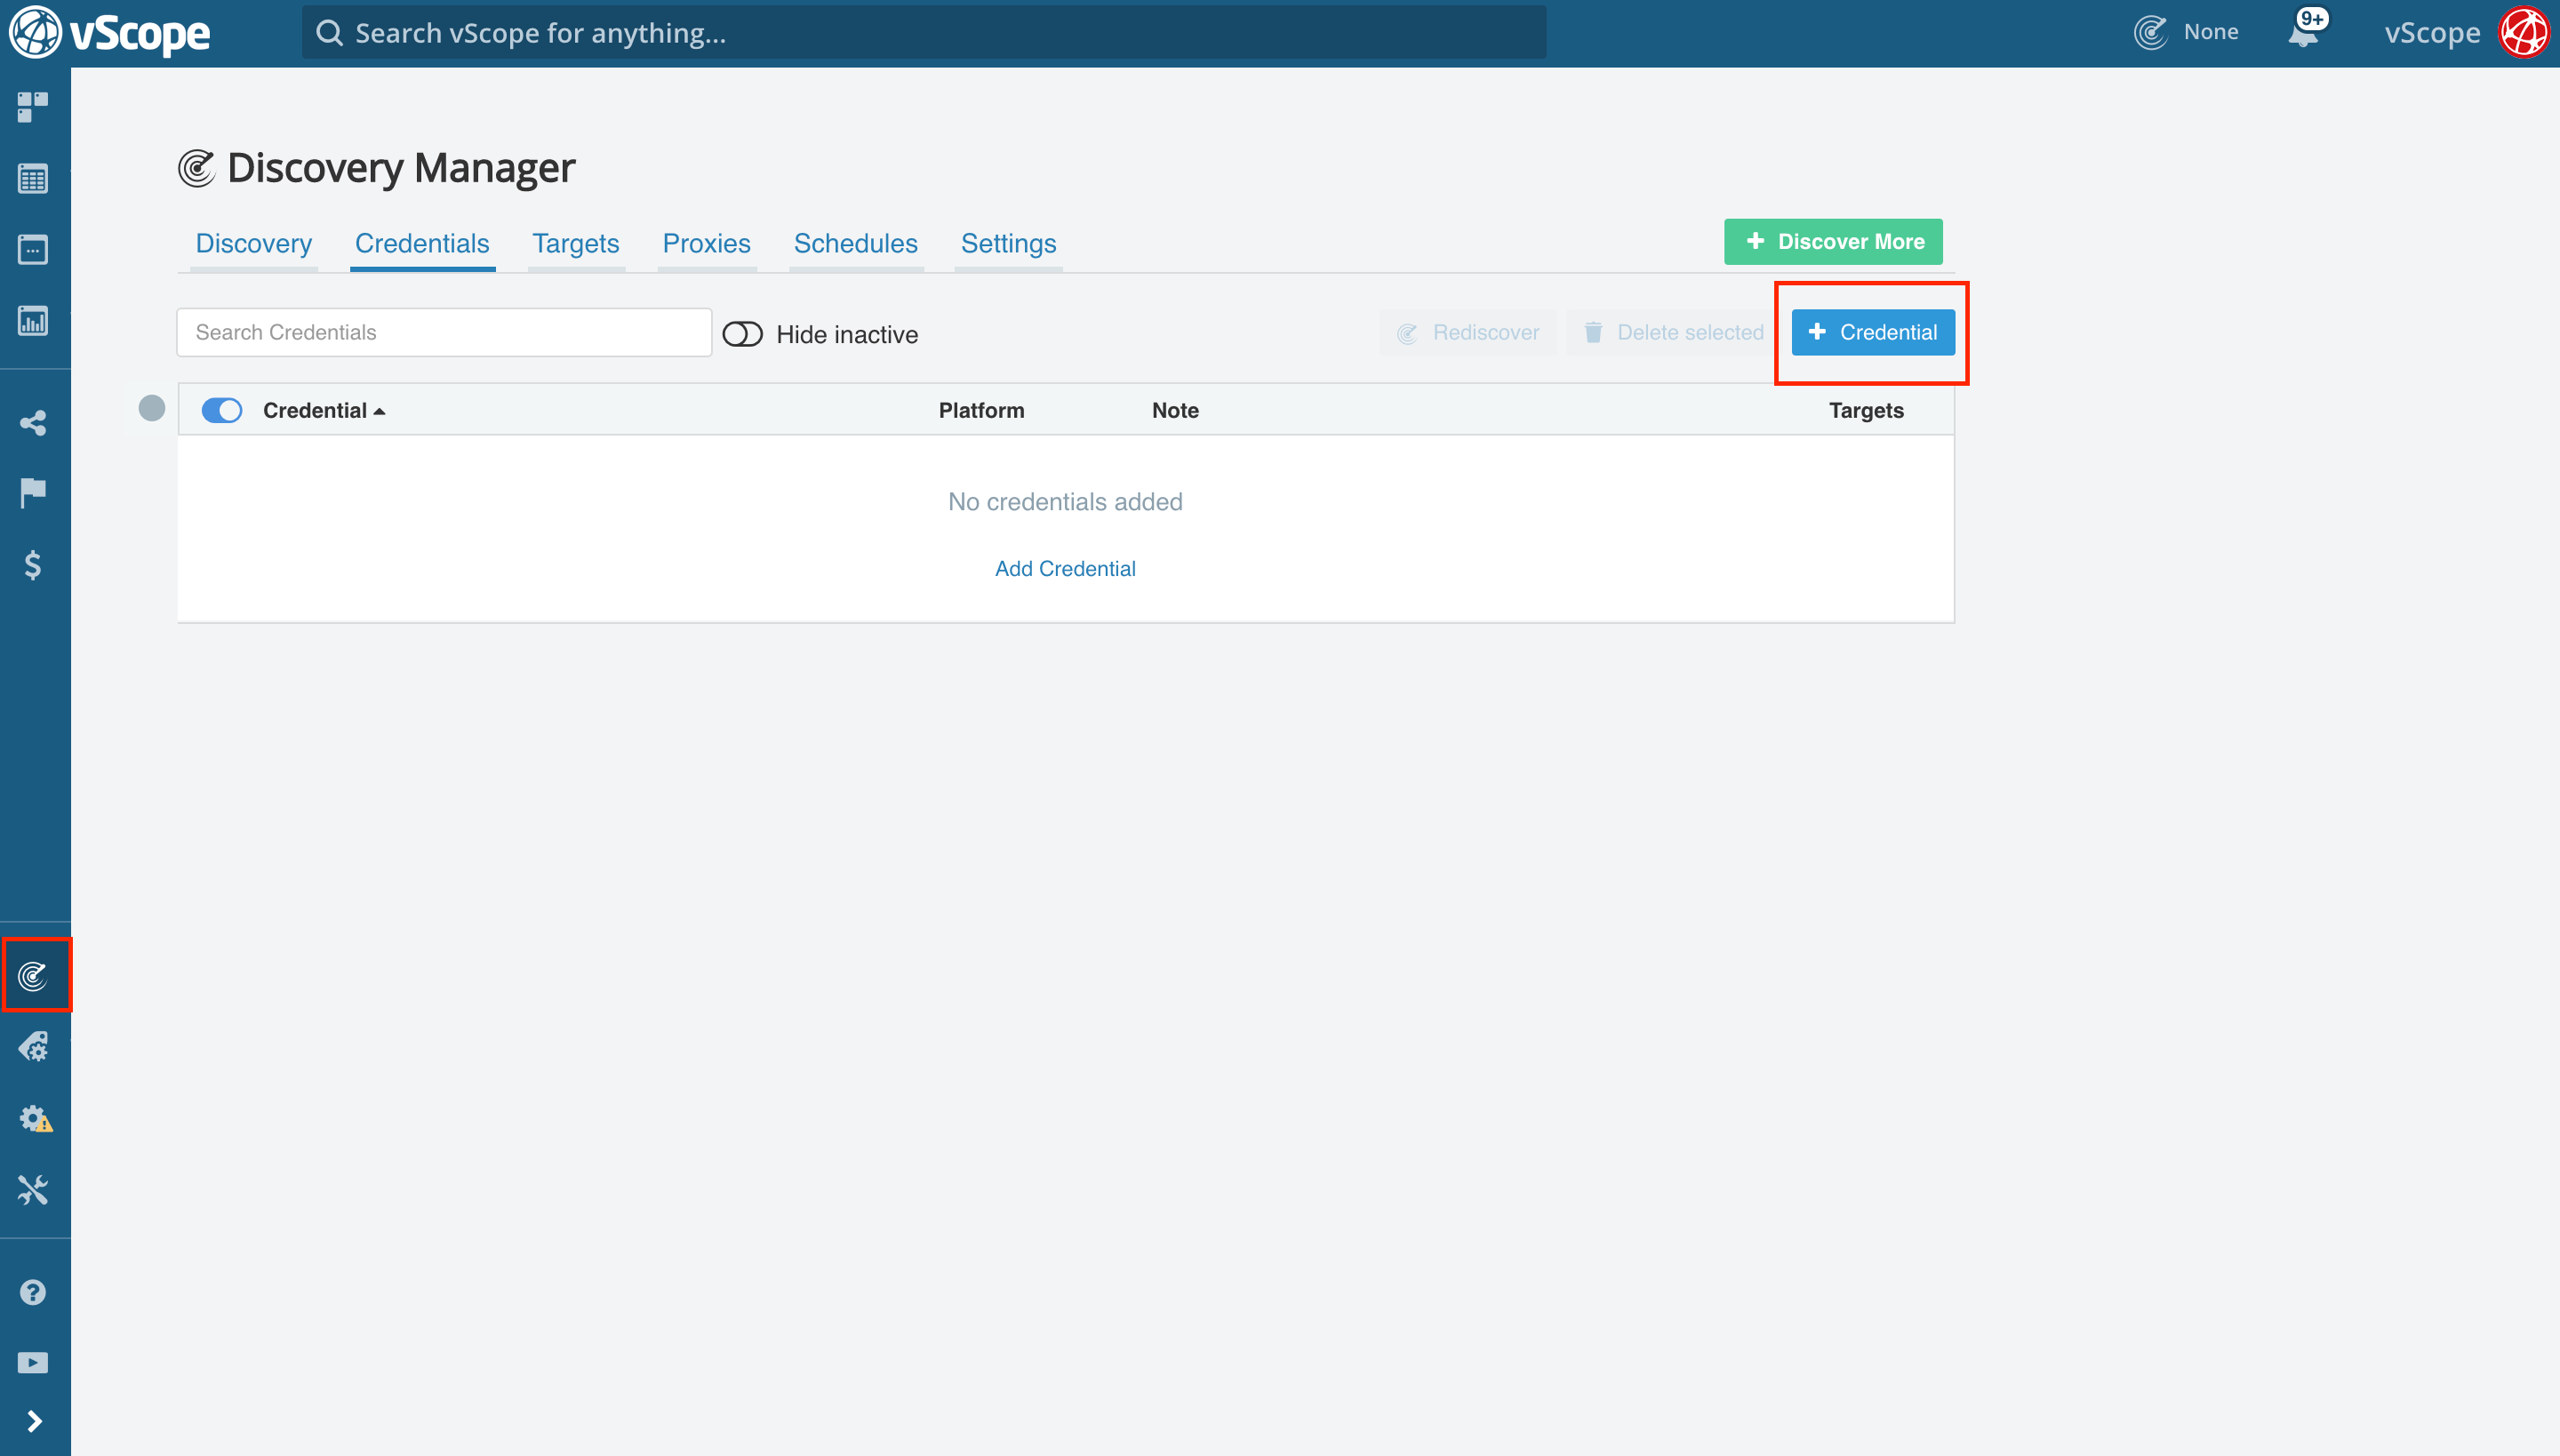
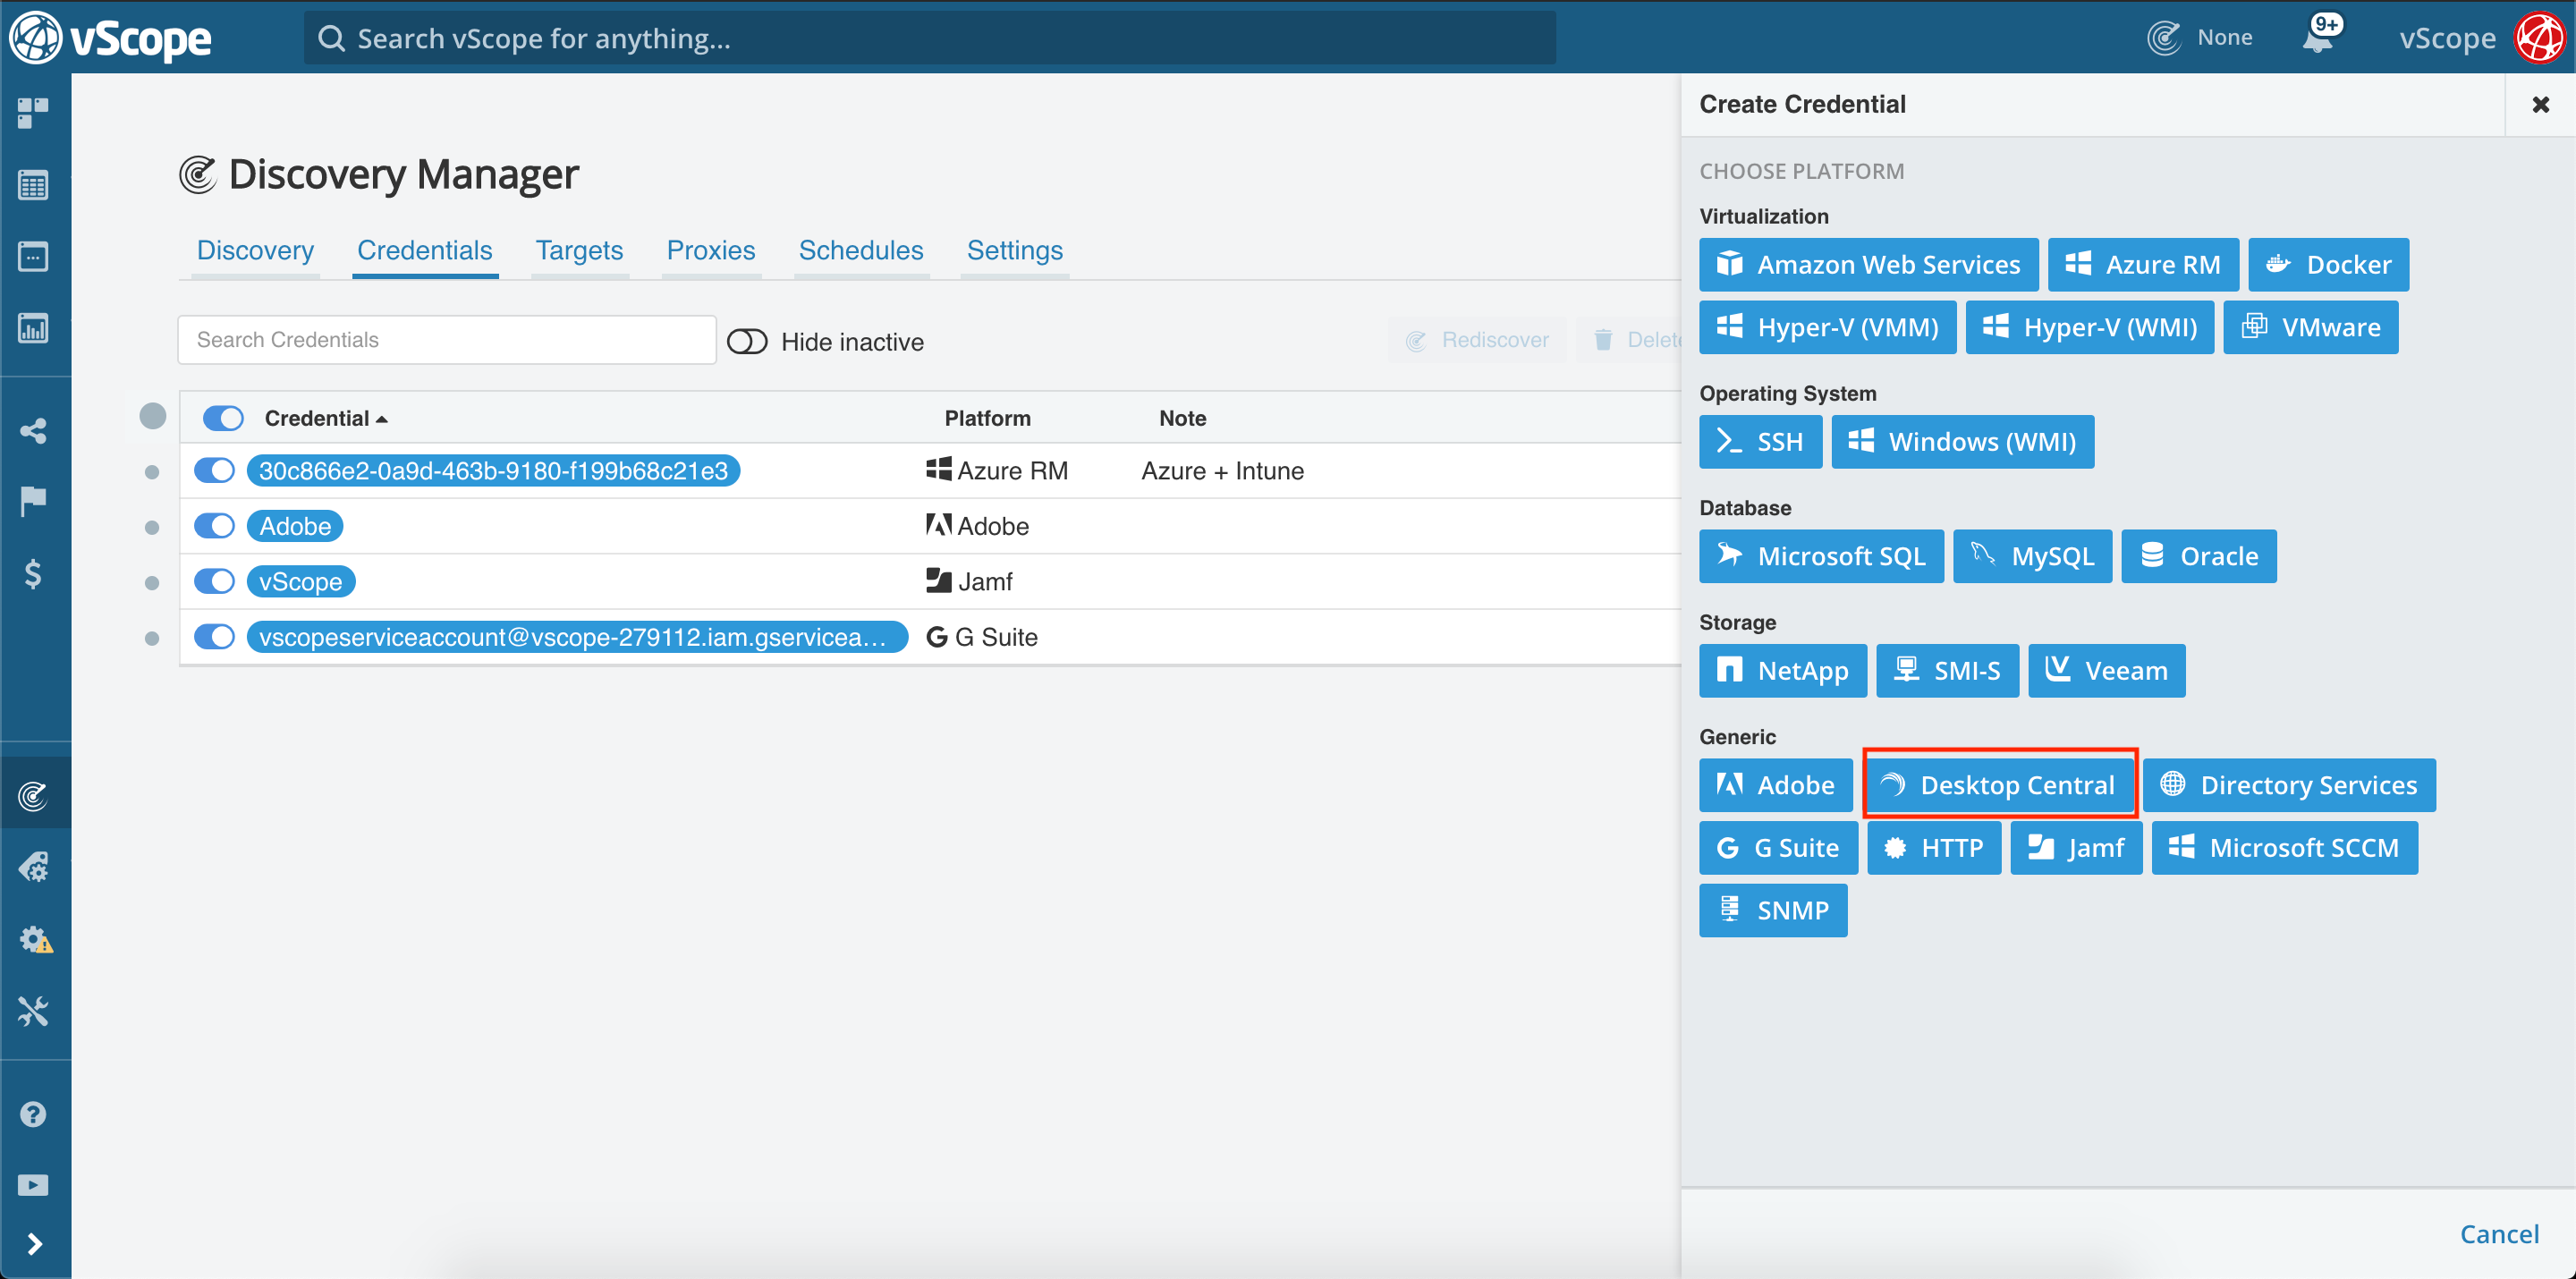
- Now head on over to vScope and go to Discovery Manager > Credentials Tab > Click on “+ Credential” > Choose Endpoint Central. Notice: vScope Administrator permissions are required.
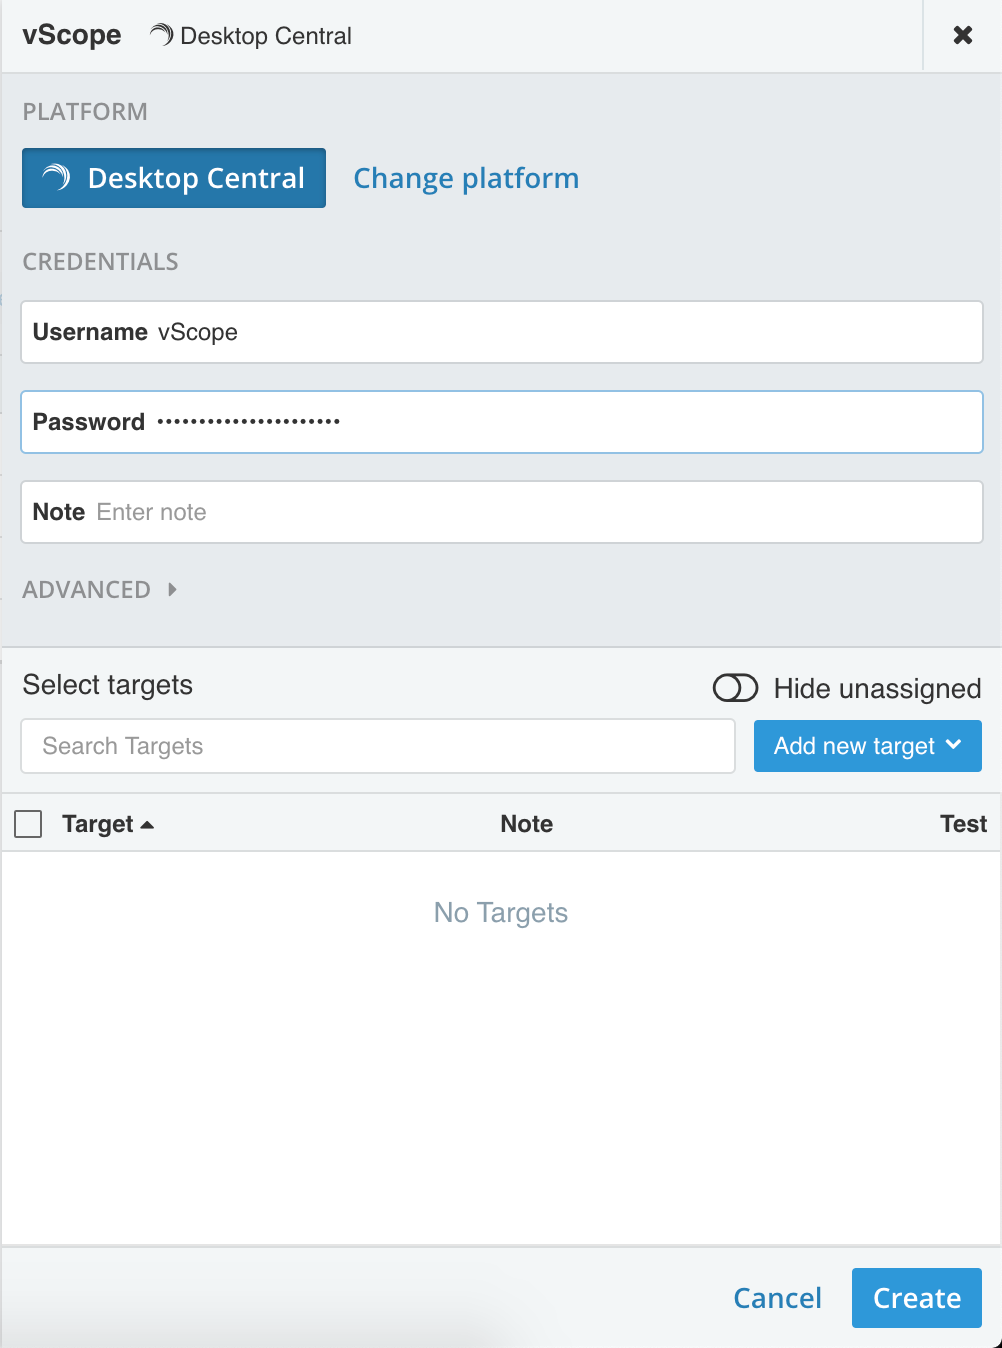
- Fill in the username and password in the credential. The username and password you input here should be for the account that we created earlier in Endpoint Central.
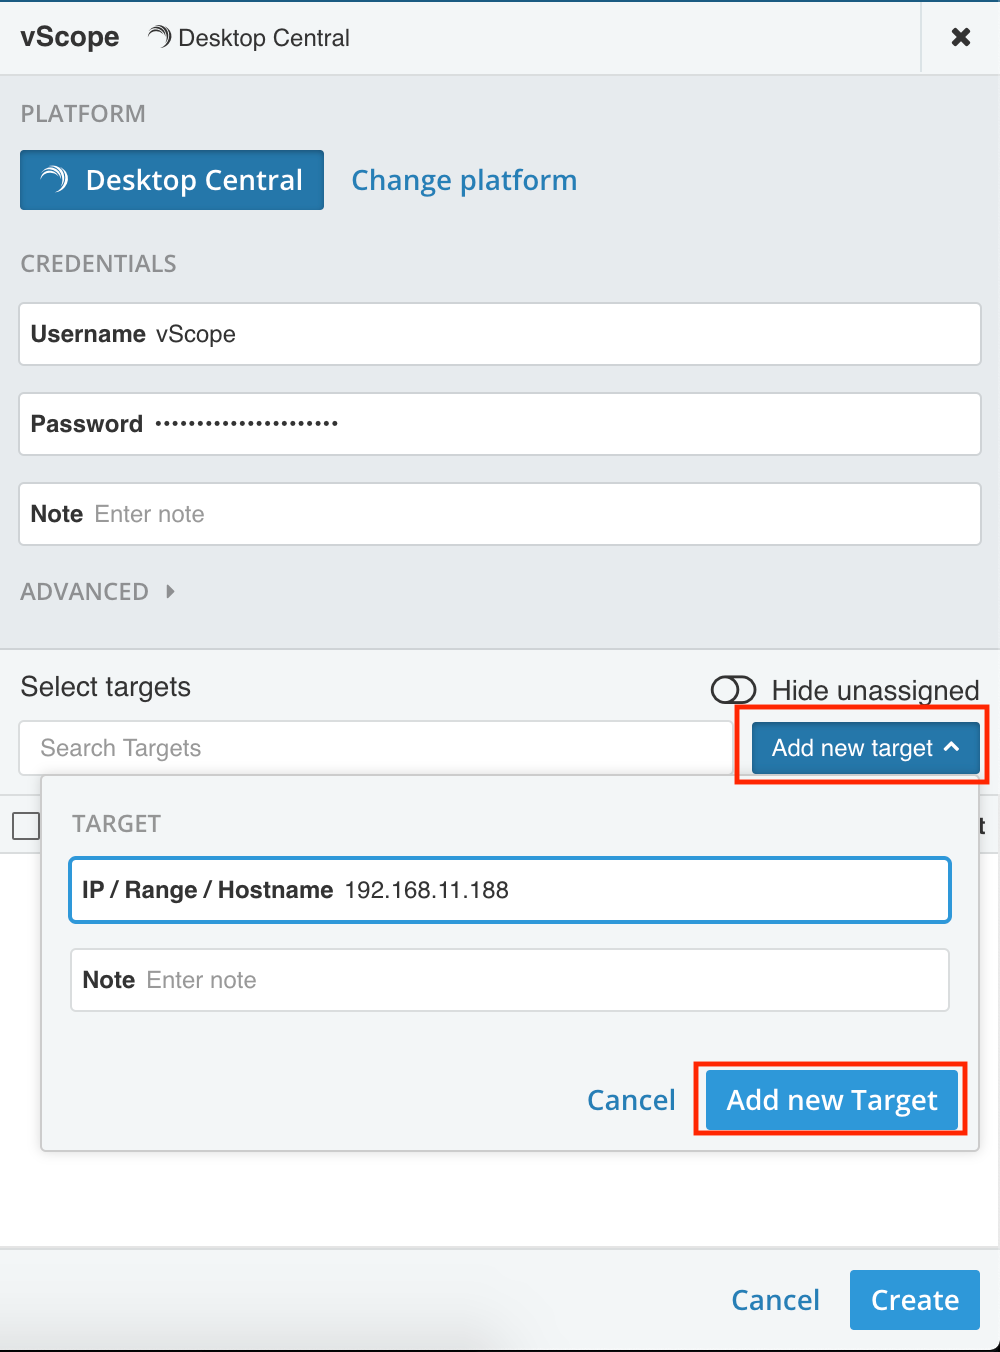
- Add a target to your Endpoint Central installation as pictured below.
- Confirm that the correct port is used under the Advanced option.
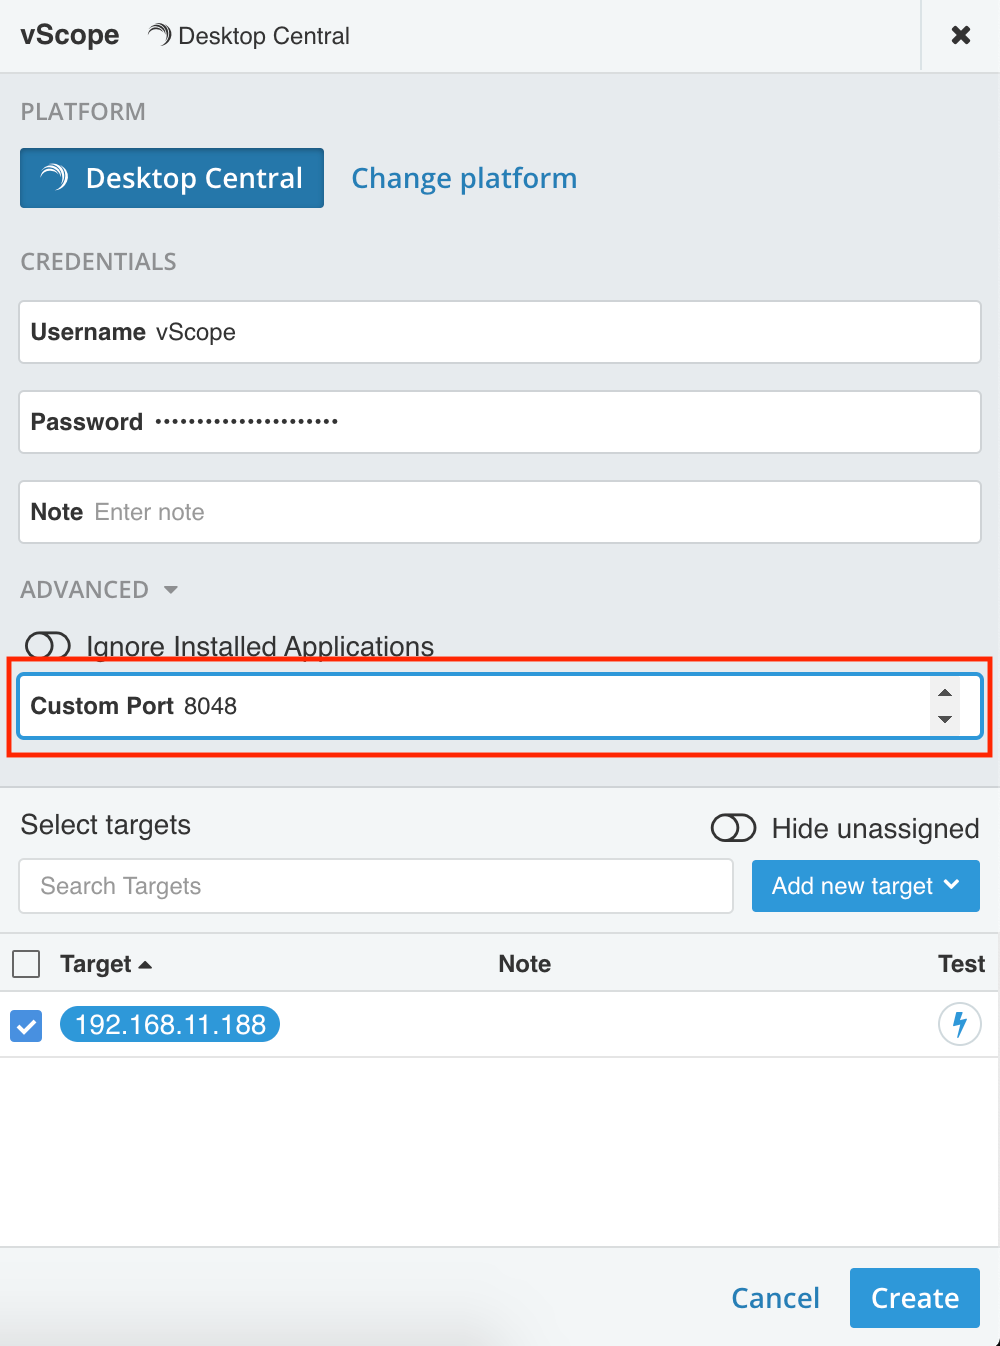
- Click on Test credential, it should light up green.
- If not green try to read the error message, most likely one of the fields has not been filled with the right information.
- If green, run a Discovery and start populating vScope with the new assets.


Need help?
If you require assistance, please contact support@infrasightlabs.com.