Integrating Jamf Pro with vScope allows you to view Computers, Local Users, Physical Disks, and File Systems in vScope. Combined with the information from your Active Directory you can gain a deep understanding of your assets.
Notice: vScope currently supports both Jamf Cloud and Jamf On-prem. Ensure that you select the correct edition of your instance in the credential type dropdown.
Creating a service account
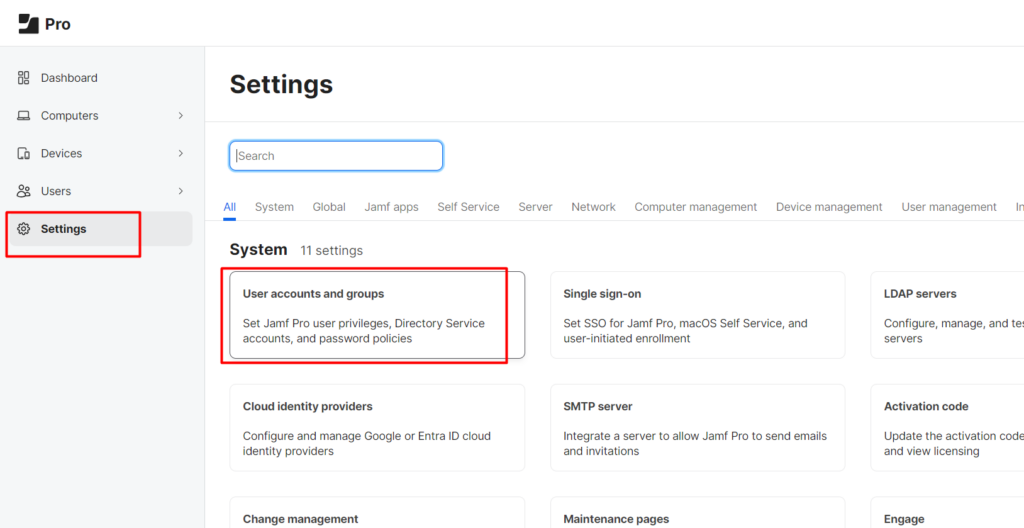
1. Log in to your Jamf Pro installation with an admin account. Click the “Settings” wheel in the left menu bar and click “User Accounts & Groups” under “All”.
4. Create a new user account by clicking ” + New”

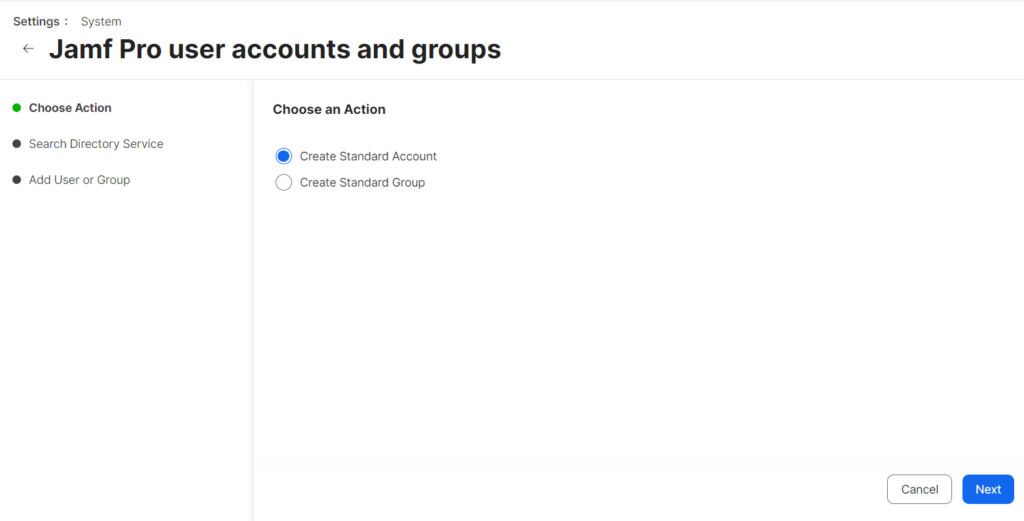
5. Under actions choose ‘Create Standard Account’ and hit next
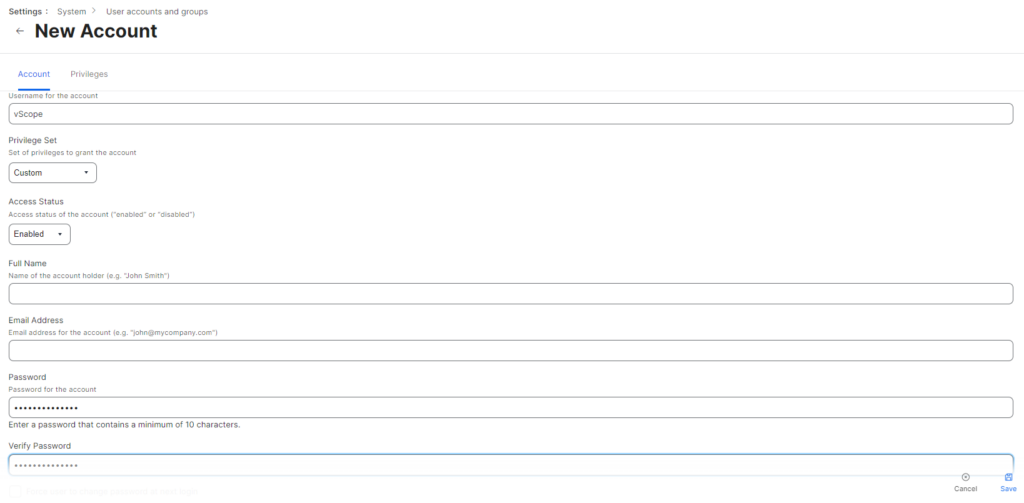
5. Fill in the required information for the user account.
You are required to choose a “Username” and “Password” for the user account since vScope will be used to access the information in Jamf. Make sure that you write this information down as you will need it later on. Also, make sure that “Privilege Set” is set to Custom. Don’t click save yet, proceed to the next step.
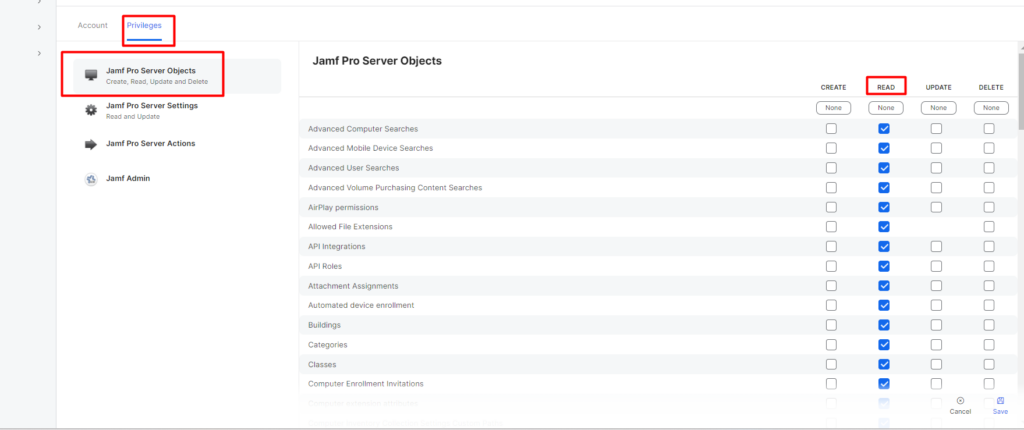
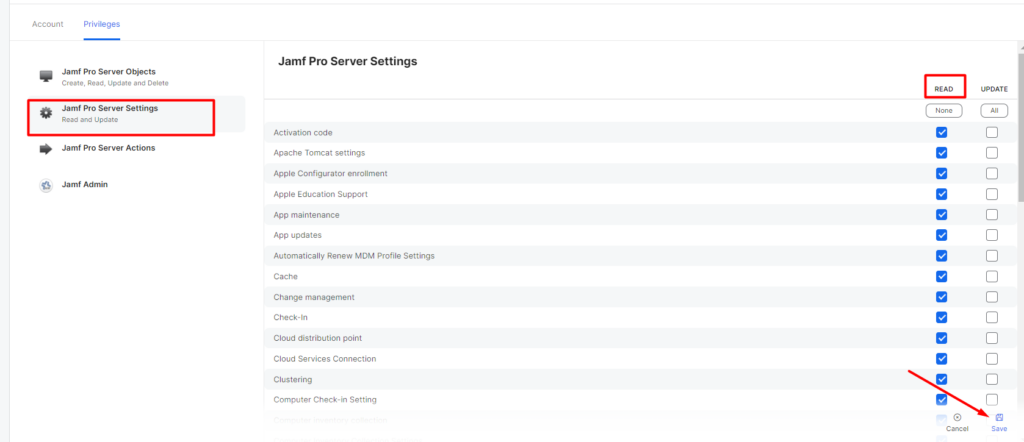
7. Click on the “Privileges” tab.
8. Give the account all read privileges under “Jamf Pro Server Objects” & “Jamf Pro Server Settings” and click on Save in the bottom right corner.
Configure Integration in vScope
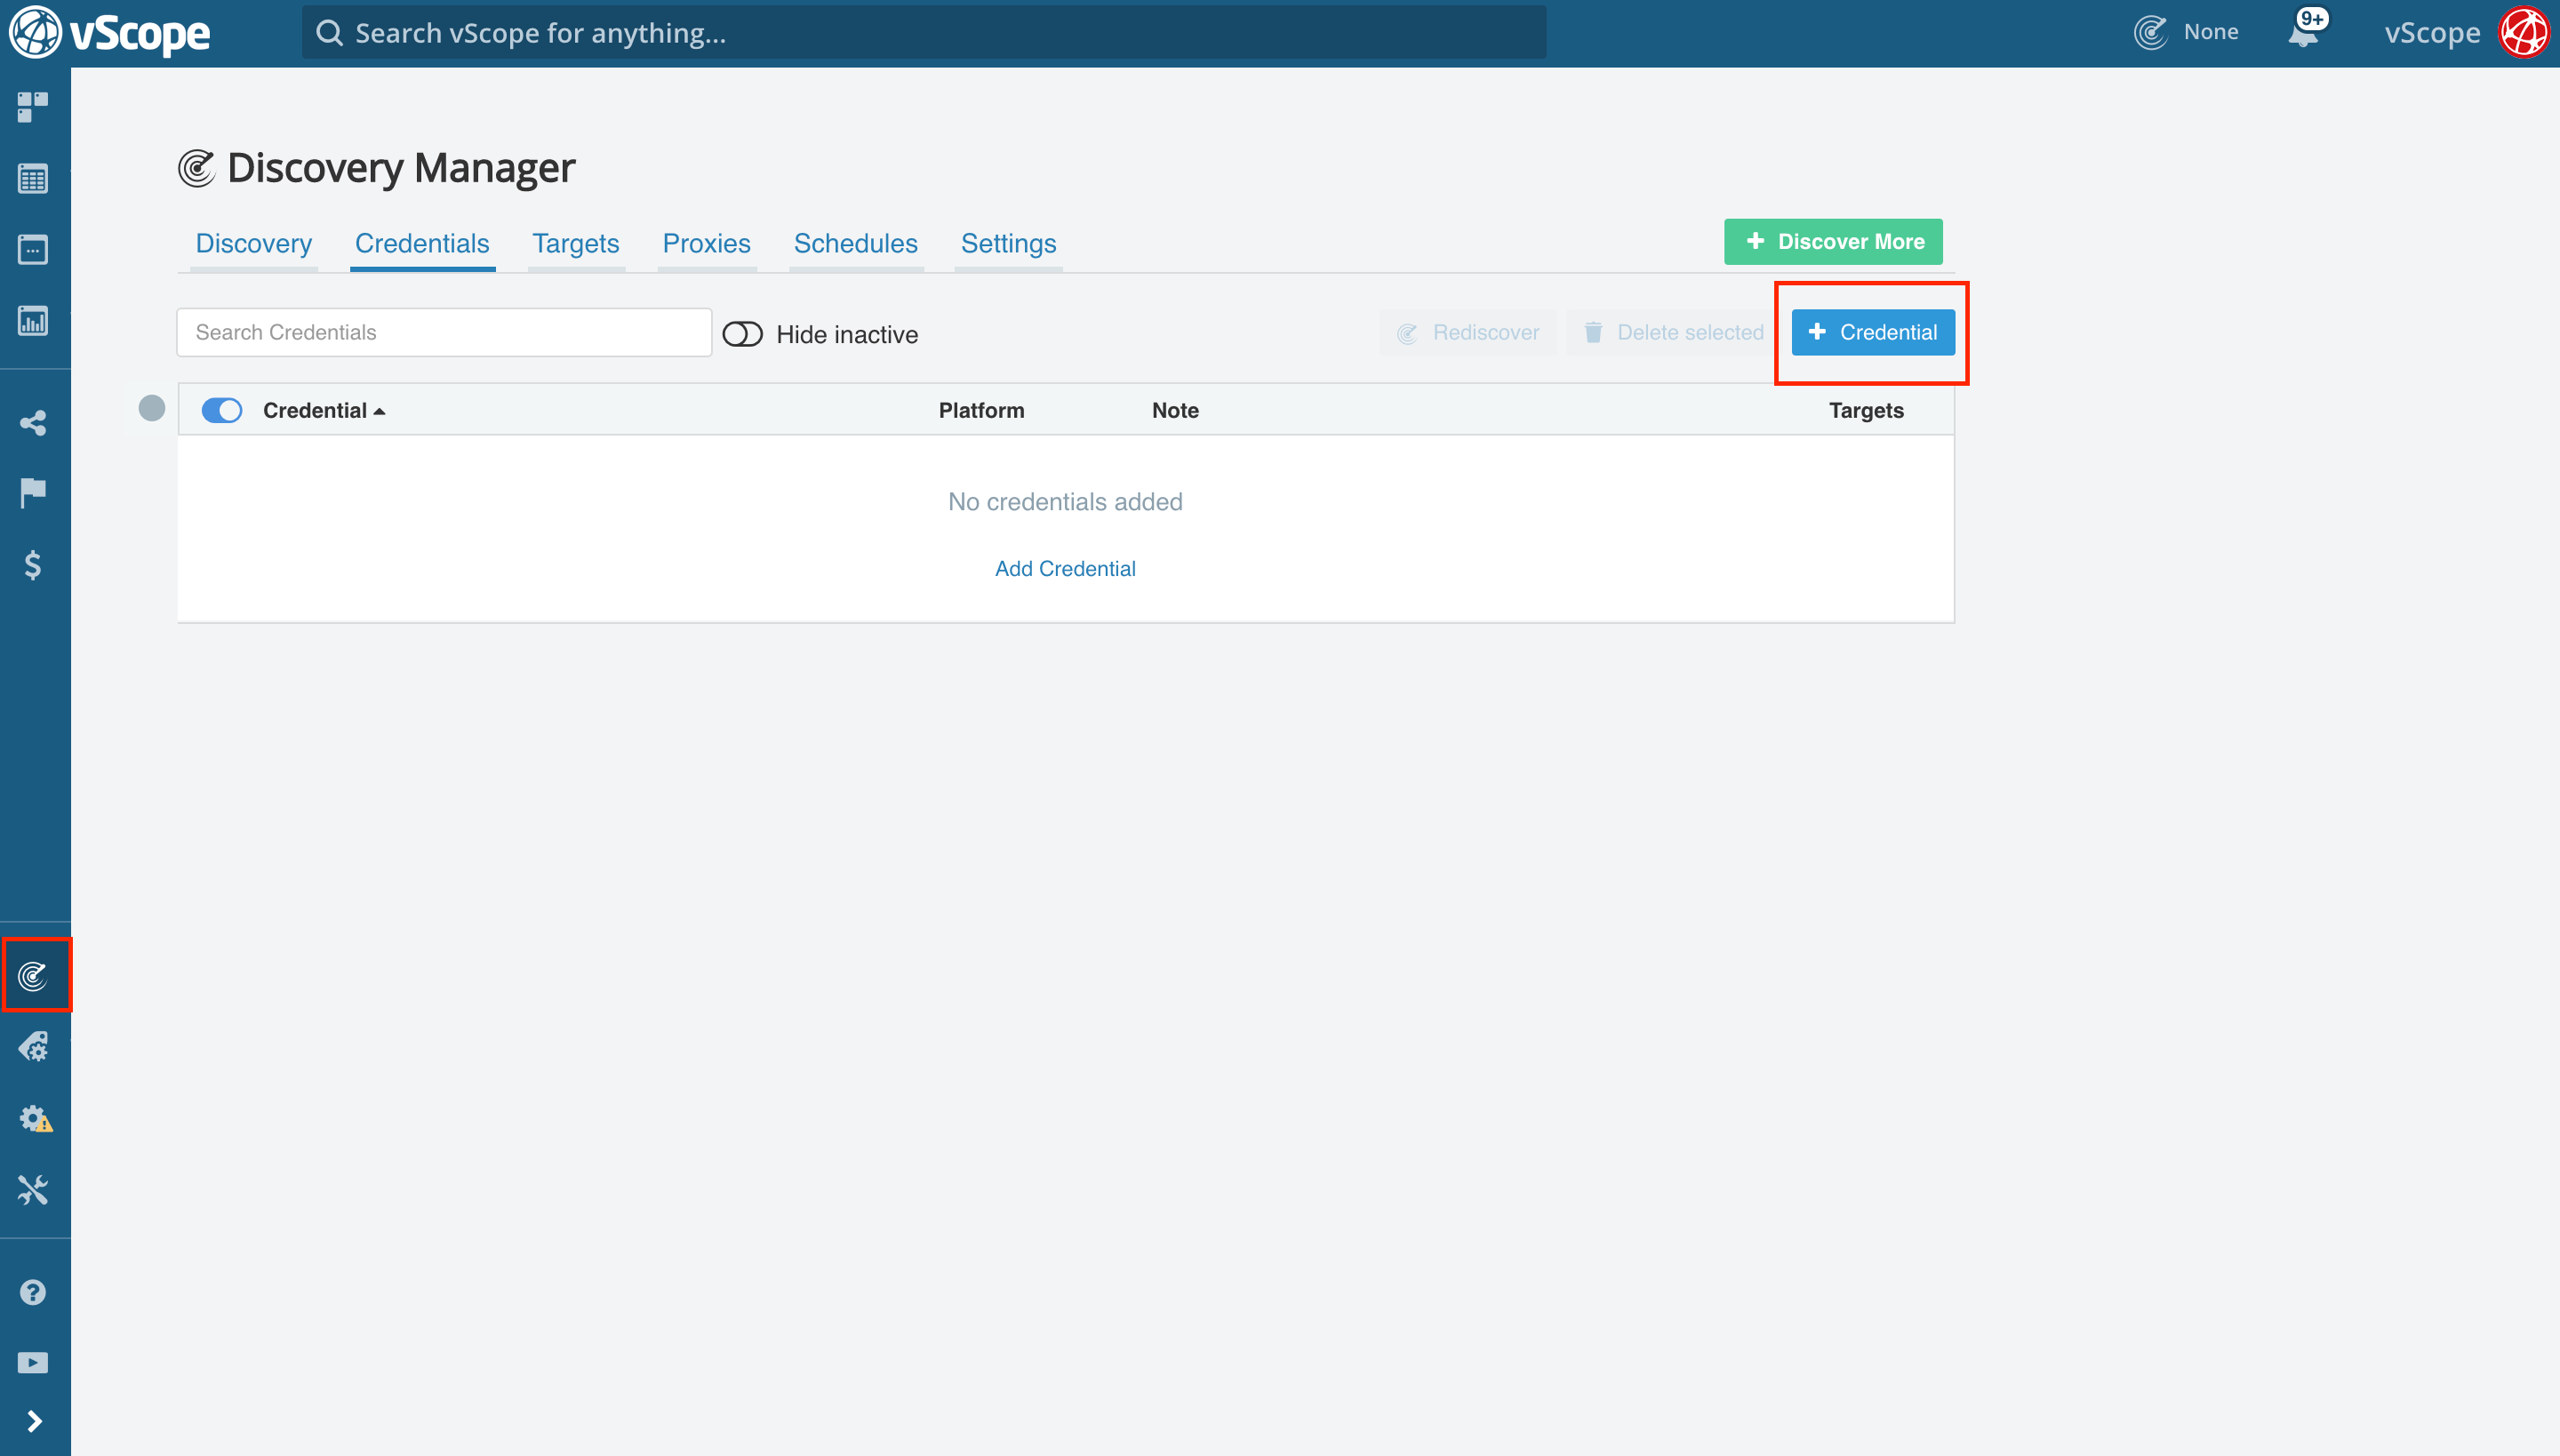
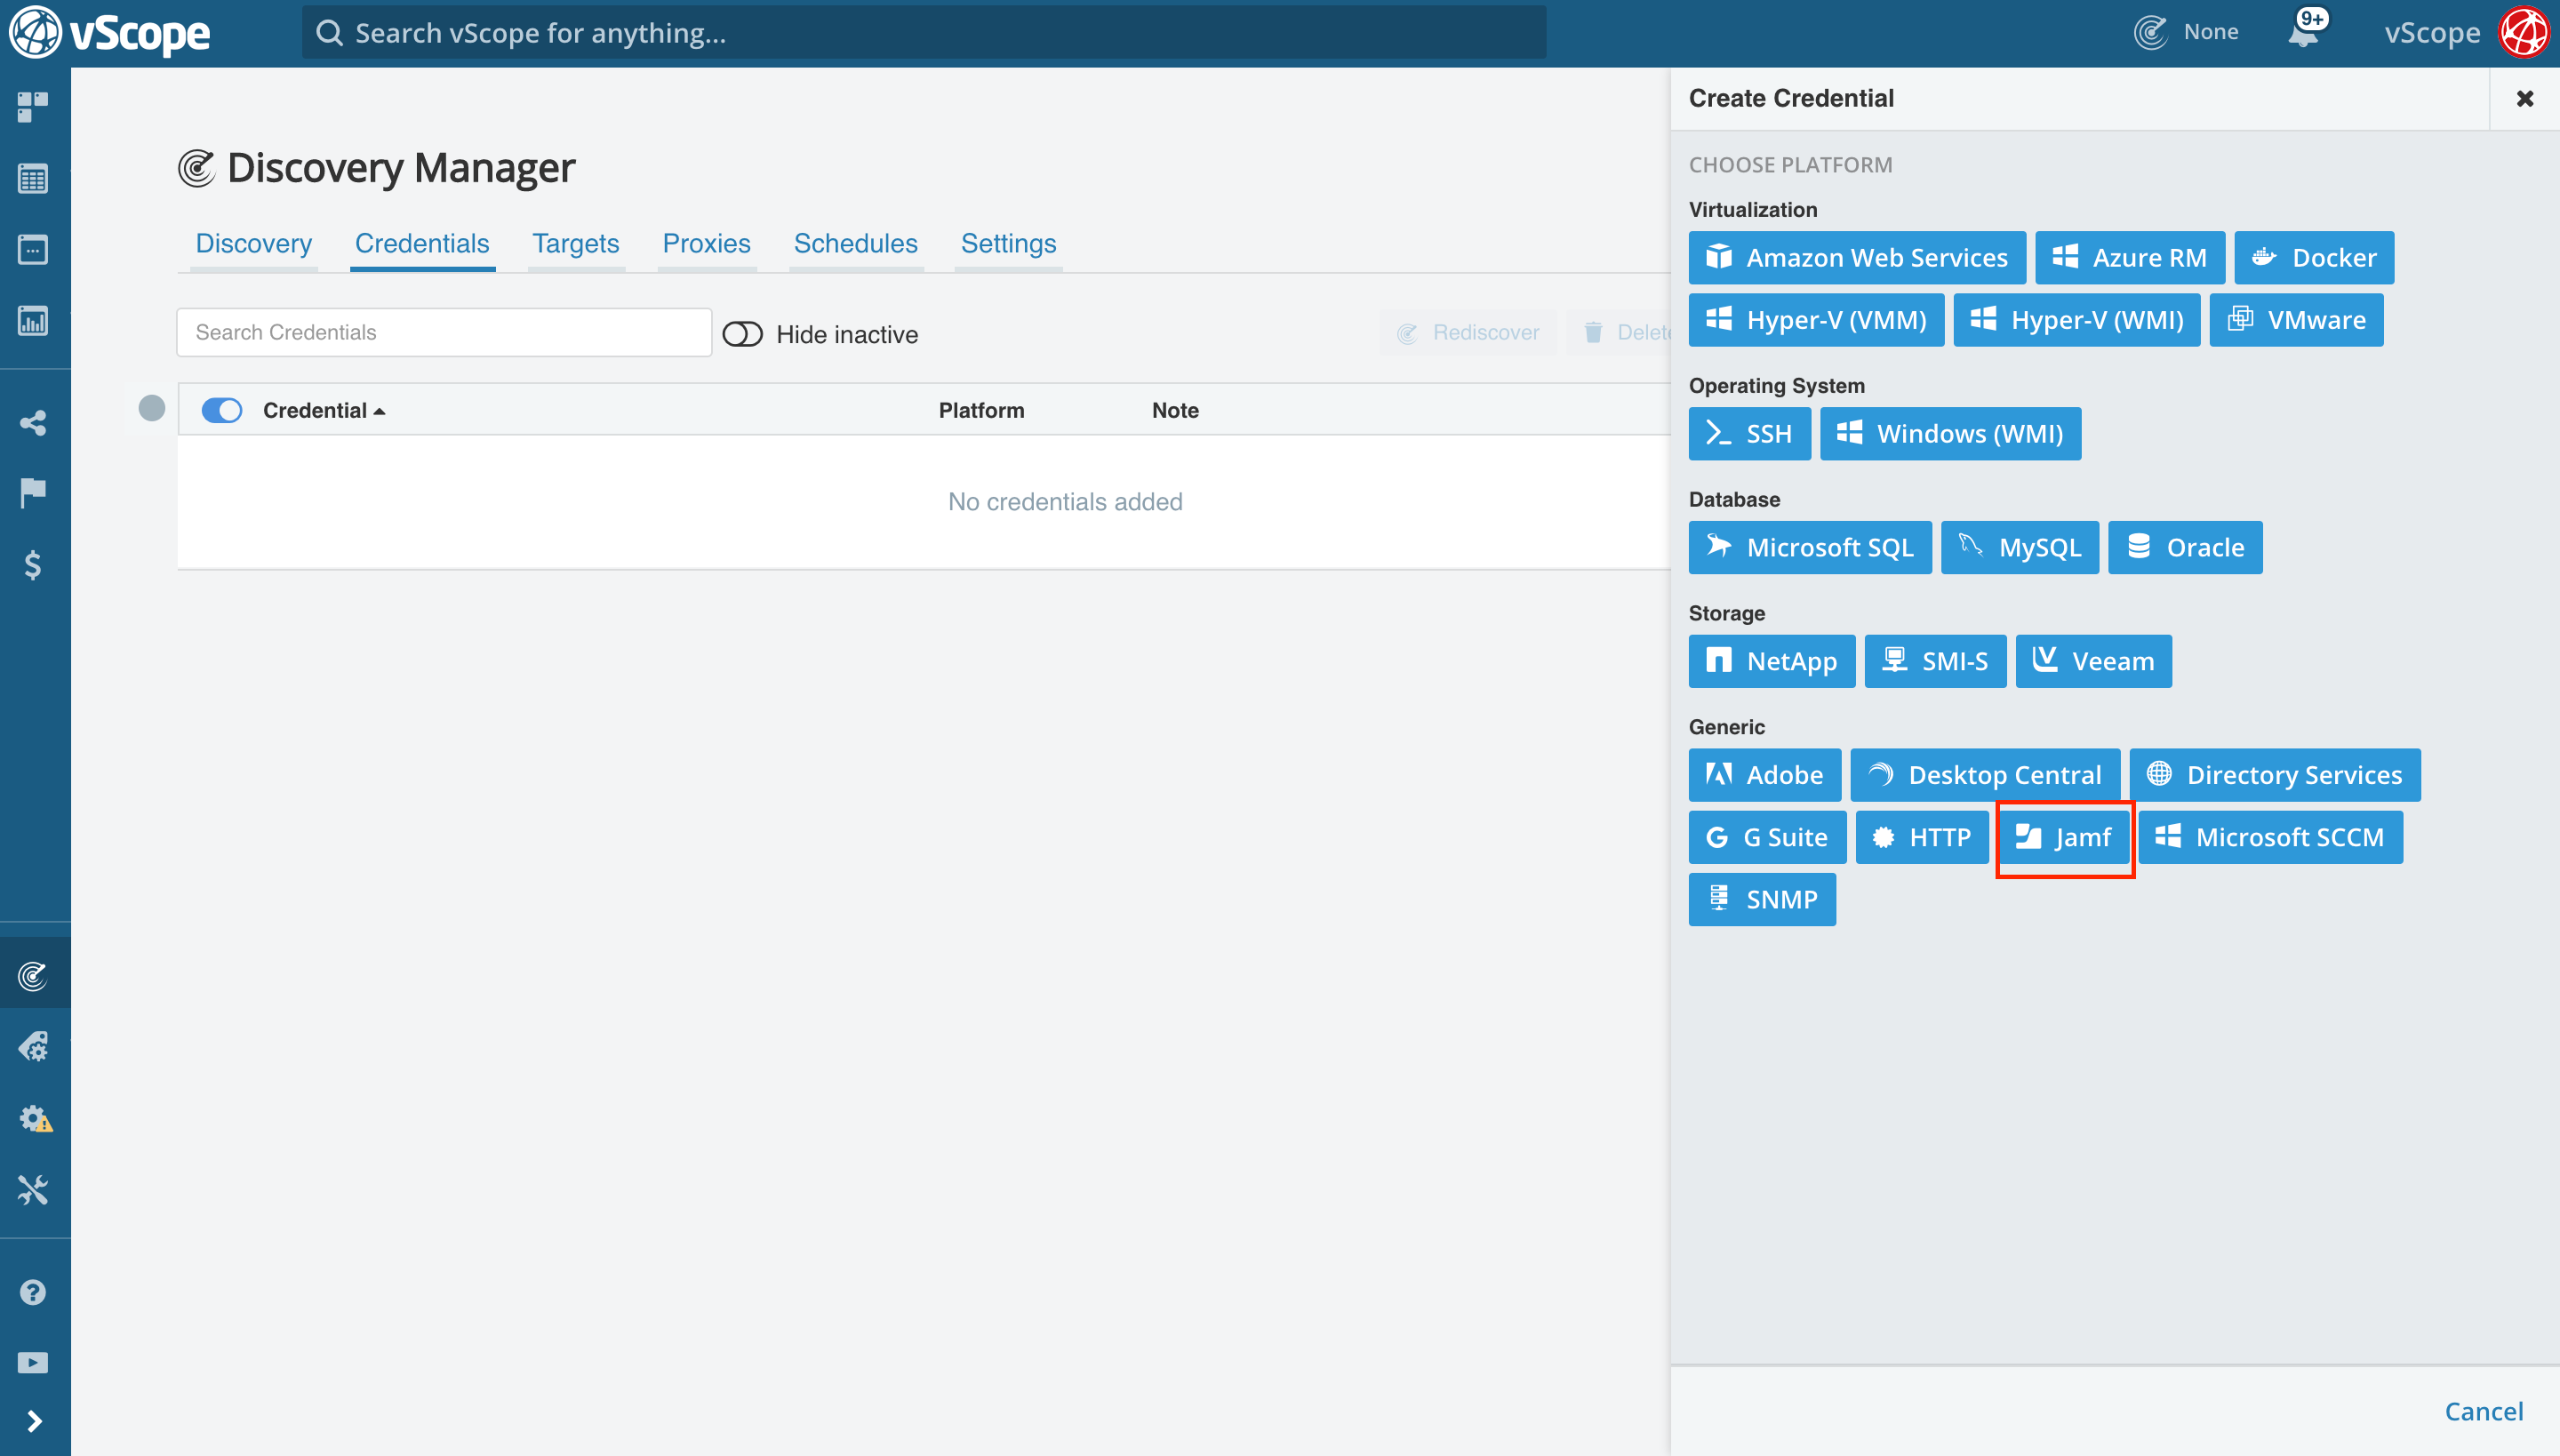
1. Head on over to vScope and go to Discovery Manager -> Credentials Tab -> + Credential and select Jamf. Notice: You must have administration permissions.
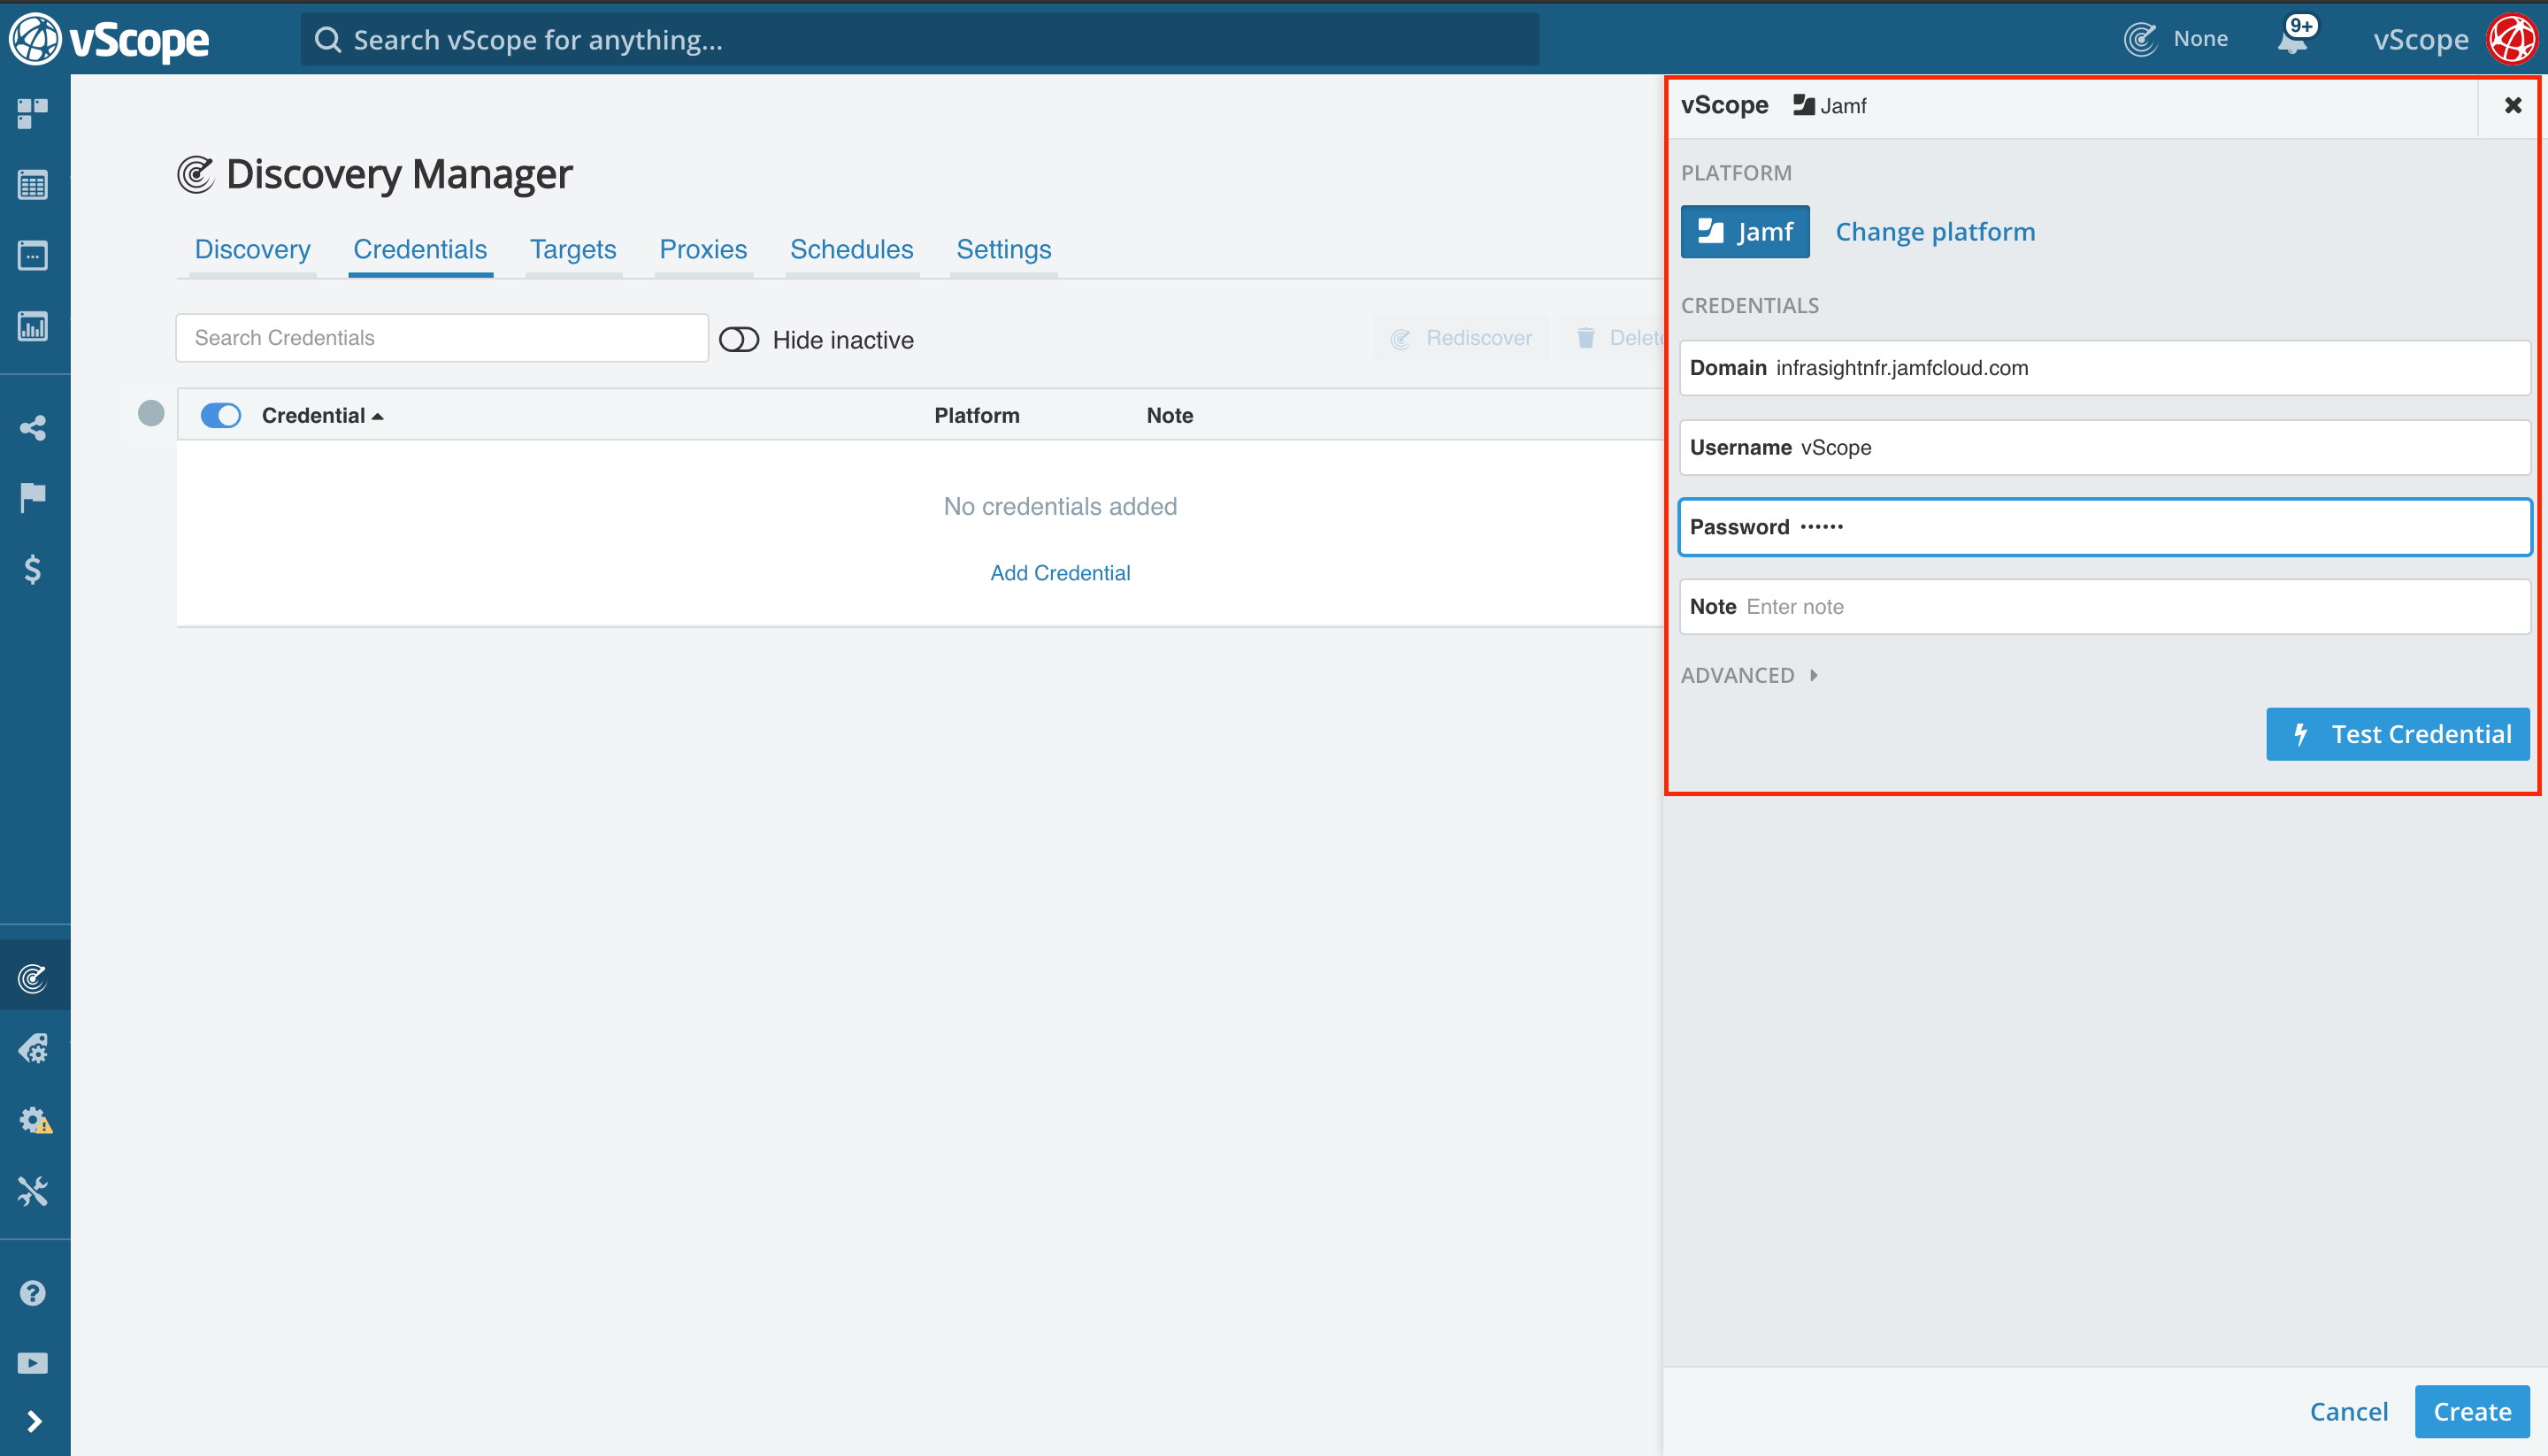
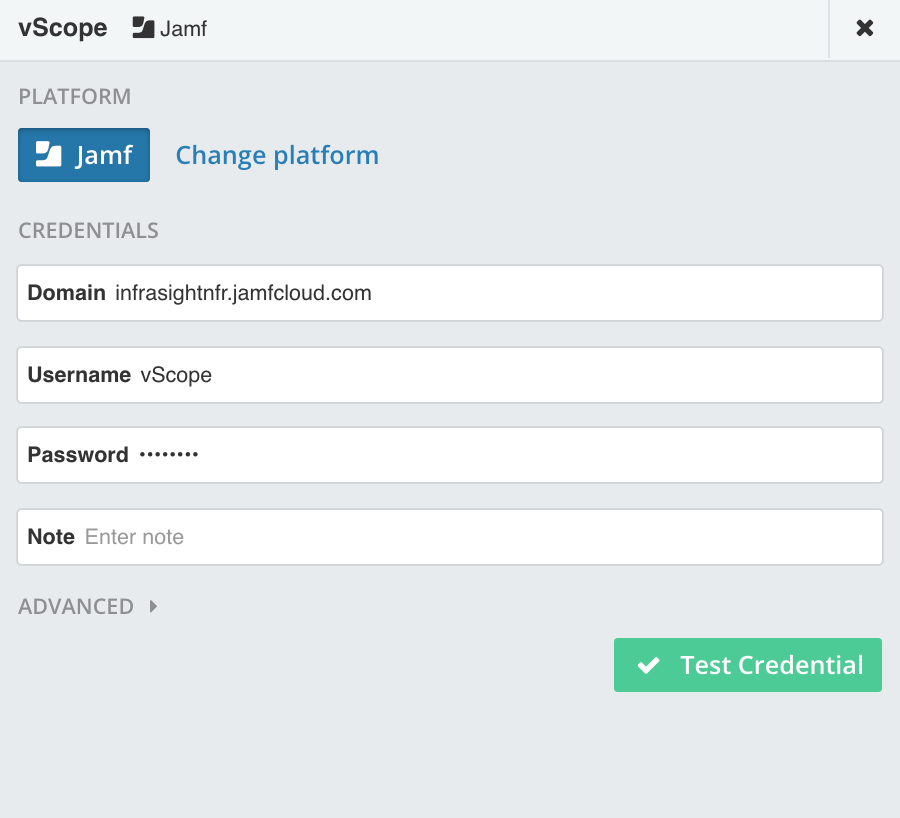
10. Fill in the required information in the credential.
Make sure that you input your Jamf domain in the same way done in the picture below. In the fields, Username and Password fill in the information for the new account that we created earlier in the guide.
11. Click on test credential, it should light up green.
12. If not green try to read the error message, most likely one of the fields has not been filled with the right information.
13. If green, run a Discovery to start populating your vScope with new assets and components.
14. If you require assistance, please contact customersuccess@infrasightlabs.com.